Episode: Revenant Act 3 dropped just a couple of weeks ago, bringing loads of fresh content, including the new Exotic shotgun, Slayer's Fang. If you still haven't added this powerful weapon to your collection, this guide has got you covered! Today, we'll walk you through the Kell's Fall Exotic mission, breaking down each encounter step by step, so you can get your new shotty in no time. Whether you're undergeared, looking to level up a bit, or simply aiming to snag this new weapon and other rewards without the grind, you can always turn to Destiny 2 boosting services and reach any in-game goal fast and easily.
Mission Overview
Kell's Fall takes you to the Tangled Shore, wrapping up the storyline of Episode: Revenant. When you progress to Act 3 and complete a few simple tasks, you'll gain access to Kell's Fall: Reflection, the first version of the mission.
Available within the Last City map, the mission comes in two difficulty modes:
- Normal Mode: Power cap of 1,955, with elemental Threat and Surges active.
- Expert Mode: Power cap of 2,015, featuring additional modifiers, as well as a forced 15-level reduction.
While the mission is soloable, it can be quite challenging, so if you're unsure about tackling it on your own, teaming up with others is highly recommended.
Loadout Recommendations
Devour is incredibly strong right now, thanks to recent Artifact perks, so leaning into it is a smart move. As for other perks, consider Concussive Reload for grenade launcher buff and Fell the Revenant for increased damage against Scorn (up to 15% with four pieces of Shadestalker Armor). In terms of Resistances, you can use Sniper Damage Resistance to counter long-range attacks and Void Resistance to reduce the incoming Void damage.
For weapons, focus on those with strong burst DPS and make sure you have a decent Heavy. Grenade launchers like Witherhoard work great for most of the encounters, along with a Void SMG for add clearing.
Kell's Fall Full Walkthrough
The Trickster
When you load in, you'll see two Scorn enemies. Ignore them and turn around to follow the path through the mountains. Once you reach the blue staircase, you'll be warmly welcomed by a bunch of adds and Araskes, the Trickster.

The boss generally stays in the center, so you can get to the side and bombard her with your grenade launcher from there. When the Trickster goes invisible, she becomes immune to damage. She's very shifty, but you'll get a solid damage window when she stands still for some time after the immunity phase. The Trickster also drops fake ammo bricks that explode on contact. To play it safe, you can shoot the fakes from a distance or temporarily switch to Solar Resistance and Concussive Dampener.
Once you deplete a third of her health, the Trickster retreats, allowing you to proceed with the mission and enter the Fortress.
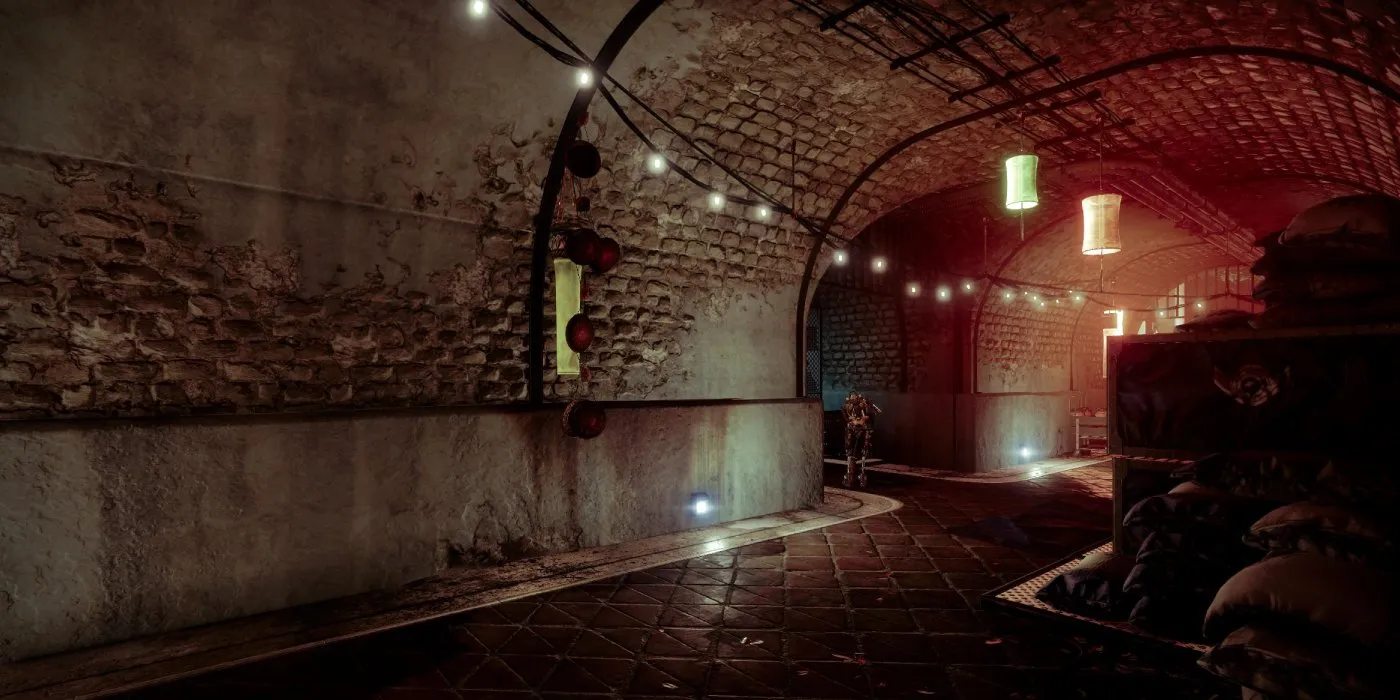
Inside The Fortress
Once inside, find a Fallen organ piano and head left, up the stairs. Turn left again and continue to the right up a large staircase until you reach a cauldron at the corridor's end. Activate it to light a fire and open a doorway. On the left, shoot the pulsating rocks and proceed through the passage.
Next, you'll encounter a shattered purple mirror. Shoot it to open a portal to the Mirror Plane. There'll be a bunch of Dread and Scorn enemies you'll have to clear. Once done, walk around the area and look for fires to activate. They may not always appear in this realm, but keep an eye out just in case. When you find another mirror, break it and exit the Mirror Dimension.
Back in the base dimension, look for fires to activate. Open a door by lighting two in total, enter and break the rocks to your right. Follow the passageway to reach the first full encounter.
The Mad Bomber
Aside from adds, there'll be two yellow-bar Pit Enforcer Abominations in the area, protected by immunity shields. You can't damage them until you gain a buff, so jump through the mirror and collect Revenant Essence motes from Dread enemies called Revenant Essentia. At 10 stacks you'll gain a permanent buff, Revenant Empowerment. With the buff active, return to the normal realm to take down the Pit Enforcers.

After both Abominations are defeated, Kaniks, The Mad Bomber spawns in the center of the room. The Trickster also reappears planting fake ammo bricks, so stay alert.
The Mad Bomber is quite aggressive, throwing hard-hitting explosives, but there's no timer, so you can take as long as you need to finish off the boss.
The Road to The Sanctum
After defeating the boss, head through the exit in the top-right and follow the corridors to a blocked passage. Shoot it and continue to a red-lit cave. Stick to the left, jumping across ledges and structures, and climb as high as possible to spot the exit near a large tree below. A bit more running along the cave path, and you'll reach the Revenant Fortress.
The Mindbender
In the new location, head into the Mirror Dimension through the mirror. There'll be the Refracting debuff with a countdown timer and also tons of adds with Hiraks, the Mindbender waiting for you. When the boss's health drops to about two-thirds, he will retreat. If you want to play it safe, exit the Mirror Realm and re-enter to reset the timer.
To continue the mission, you need to light three fires. They can be in various locations, but we recommend first checking the right-side cave near the Mirror Realm entrance. Clear the adds and activate the cauldron if there's one. Then, backtrack to the arena and head to the left cave, watching for adds and another fire if needed. Finally, return to the normal realm through the mirror.
Depending on how many fires you've lit in the Mirror Realm, you'll need to find and light the remaining ones to open the door behind the mirror. Head inside to begin the second damage phase. When the boss's HP drops to one-third, he'll retreat. Back in the Mirror Realm, you'll be on a timer once more, so now's a great time to use your Super to finish off the boss. Also, watch out for the adds and keep an eye on the Trickster, who will be planting fake ammo on the ground again. You can always hop in and out of the mirror to reset the timer.
The Trickster, Again
Once you're back in the normal dimension, head through the passage in the wall. A gravity lift will launch you upward to the staircase you'll need to climb. This is where you'll face the Trickster for the final time. Chase her up the stairs, clearing out adds as you go, and be cautious of fake ammo. The mechanics are the same as before—she'll go stealth rather often, but there's no timer, so you can be more strategic.
The doors at the top of the staircase will open once you take the boss down.
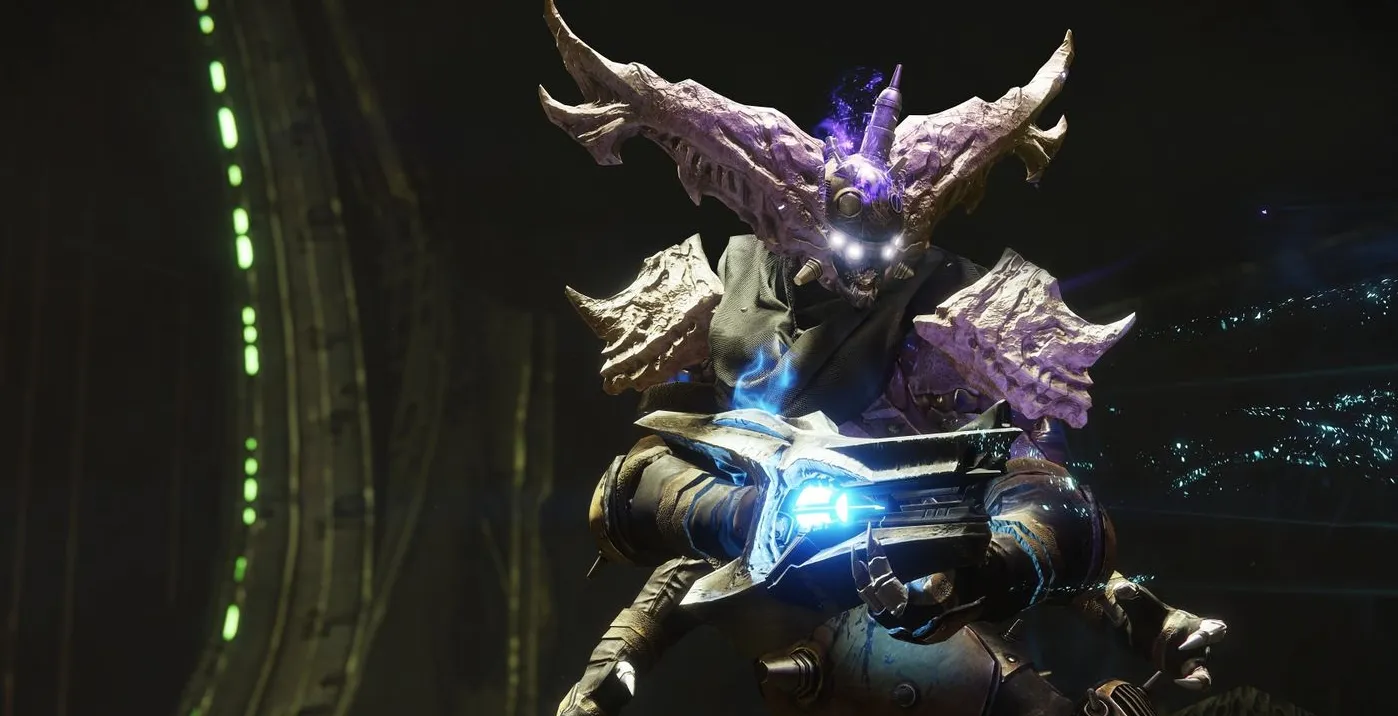
Final Fight
You'll start the encounter by clearing the adds. When Fikrul begins preparing his attack, jump into the mirror and collect motes from Revenant Essentia enemies. Once you have the buff, return to the normal realm and dish out your damage at the boss.
If it's your first time doing this mission, the boss will be Reksis Vahn, the Hangman. In the Distortion version, you'll face Scorned Organist, and in the final version, you'll battle Fikrul, the Fanatic, with some slight mechanic changes. Instead of returning to the normal realm, you'll fight Fikrul directly in the Mirror Dimension. Shooting the mirror will stun him, and then you can use your Super and Heavy to deal as much damage as possible. You might be able to take him down in one go, but if not, you'll have a second phase to finish the job. After the first damage phase, Fikrul will disappear, so you can clear adds to gather ammo and build up your Super. Then just follow the familiar pattern: head into the normal dimension—there'll be some adds, so be careful—return to the mirror realm, collect motes, stun the boss, and deal damage.
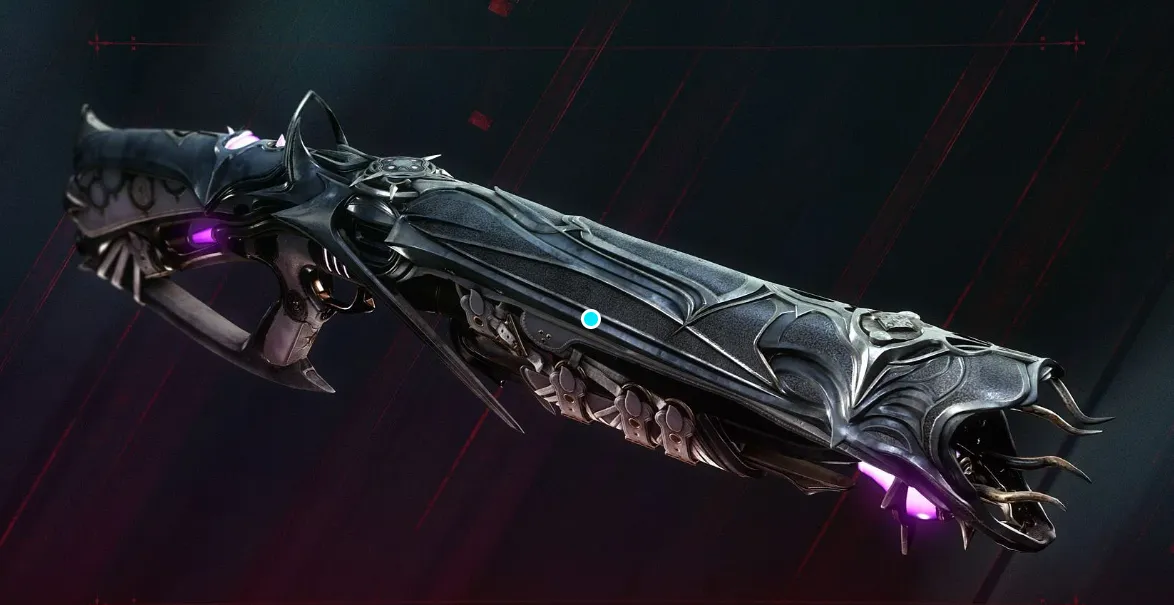
If you're doing the mission for the first time, defeating the final boss will reward you with the Slayer's Fang Exotic Shotgun.
Comments
No comments yet
Be the first to share your thoughts!