I'm not the biggest fan of sweets for breakfast, but we're celebrating a birthday here and that maple syrup isn't getting used as quickly as one would like, so it's time to put a Hearthstone spin on everyone's favourite pancakes!
Pancake art has gained a bit of a following within the past few years and some of the artists create some very incredible looking food. The only downside to it is that it takes a skilled artist to create these intricate designs and it takes forever and a half to cook up a batch! We're going to solve both of these things today with what I like to call "So Easy You Can't Fail Pancake Art".
The Hearthstone Swirl is a very easy shape at its core, but looking closely, it is hard to master. Since we're dealing with pancakes specifically, all this goes out the window because we don't need to create a 1:1 replica, we just want to make something that is recognizable and will put a smile on the faces of the ones you love - or yourself. Make all the pancakes for yourself! As long as we create the right basic shape, these are going to look good - no art skills required!
If other recipes online are to go by, this is the spot where I'm supposed to talk about how Sally just graduated from preschool, how the lilacs in the garden are doing, what color my hair is, and how I'm just so cheery! Yeah, online recipe blogs suck since they make you scroll so far to get to what you're actually there for. Let me add another sentence to make you scroll farther so I can at least pretend I'm a legitimate internet chef.
Protip: Anything you create on your surface whether it is a frying pan, a griddle, or scorching black-top in the summer, you're going to want to create your art reversed. When you flip the pancake you're going to be disappointed if you don't take that into account.
Now, I'm going to share my favourite recipe for Buttermilk Pancakes with you, but there's a word of caution. I highly recommend you use whatever your favourite pancake recipe is for this though because if you're like me, you're particular about your pancakes and shouldn't be taking advice some random dudes online that are added blue food coloring to their breakfast. The same process here will apply to any pancake recipe.
What You'll Need - The Tools
We're going to need some tools to get this job done.
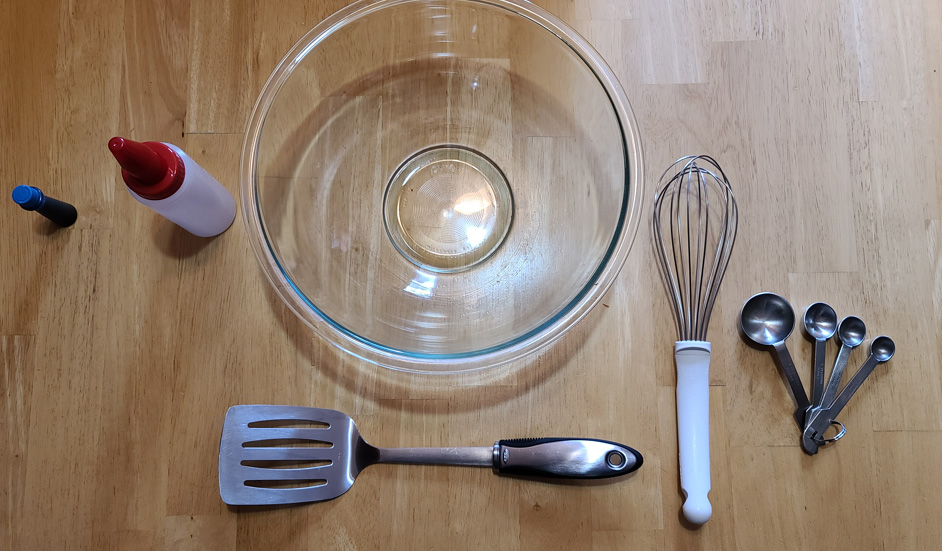
- Squeeze Bottle
- I'm a fan of the smaller bottles which have interchangeable tops.
- You could honestly cut a hole in a ziplock bag and it would work just as well.
- I personally used a Wilton #10 round tip for the blue batter dispensing.
- Blue Food Coloring
- I used gel food coloring since I have it on hand for cakes and icing. Regular works fine too!
- Large Bowl
- Spatula
- Whisk
- Ladle or Large Spoon
- Measuring Spoons and Dry Measuring Cups
- Fluid Measuring Cups
Mix dry ingredients together, add wet ingredients, don't overmix, add with a ladle to your hot pan, flip when bubbles appear all over surface of pancake. Continue on for commentary.
If you don't have any of the above tools, I've included links to them on Amazon. Disclaimer: These are affiliate links.
Buttermilk Pancake Ingredients
These are the pancakes I love. Don't feel the need to use my recipe though, your favourite is just as good for this task!
Dry Ingredients
- 2 Cups of Flour
- 2 Tablespoons of Sugar
- 2 Teaspoons of Baking Soda
- 1 Teaspoon of Baking Powder
- 1 Teaspoon of Salt
Wet Ingredients
- 2 Large Eggs (Beat prior to adding to dry ingredients)
- 2 Cups of Buttermilk
- 3 Tablespoons of Melted Butter
- 1/2 Teaspoon of Vanilla (Optional)
I also add in a few sprinkles of cinnamon, somewhere around 1/4 to 1/2 a teaspoon, because the aroma and taste is amazing.
If you want them a bit thinner, you can add an additional cup of buttermilk.
And yes, it is all non-metric. Weighing ingredients for pancakes is too much of a hassle in the morning and in general - unless you're making bread. What kind of bread would we make for Hearthstone?
Crafting The Batter
If we're using my recipe, this is how things are going to go down. Though let's be real, pancakes are a simple food and all it really ends up being is mixing wet into dry and not over combining it.
Also some people don't like to use a whisk to mix their batter. I'm a rebel if you're in that group. Whisk life!
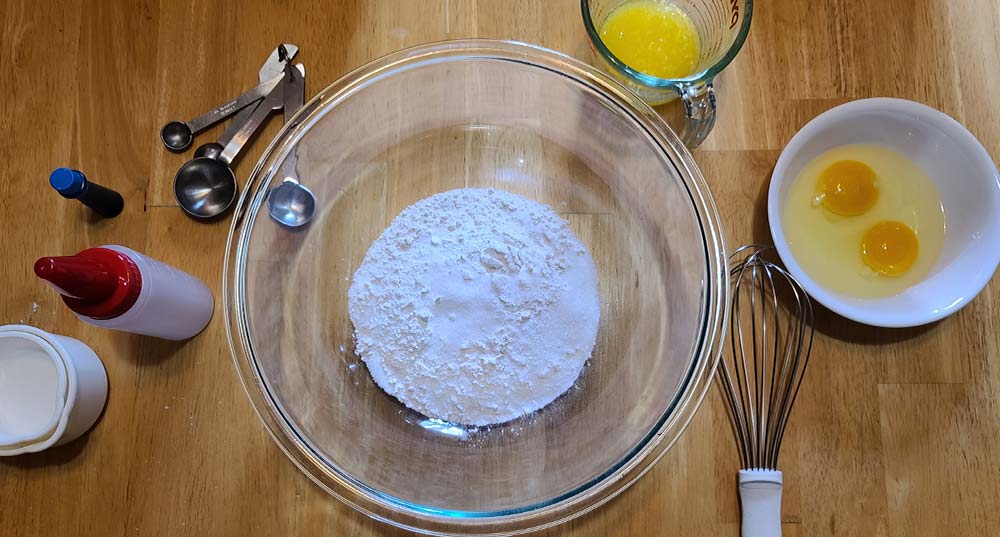
See that? That's called being prepared and taking nice photos. Adding all the dry ingredients to the bowl? Check.
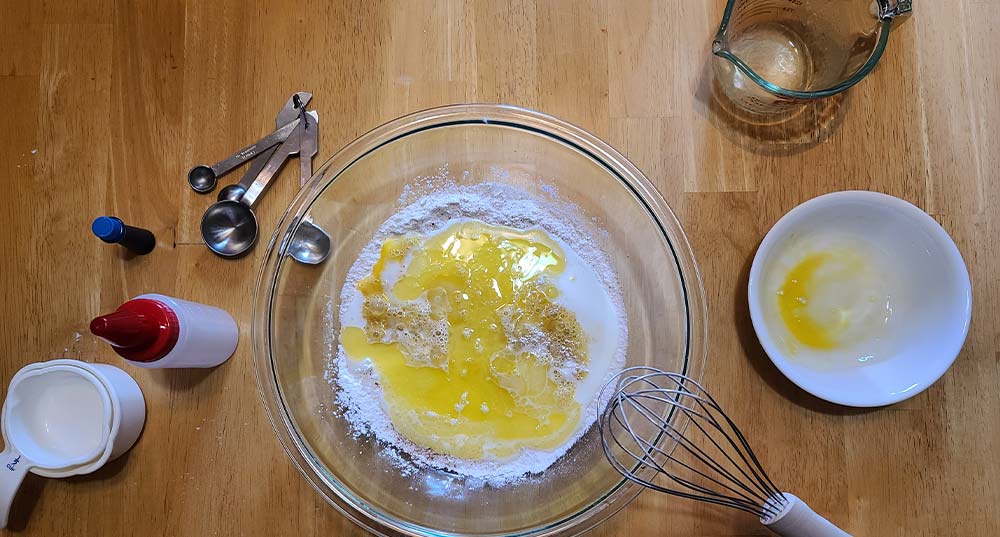
Add the wet ingredients now, don't be afraid. Food can tell when you're afraid and you'll mess up.
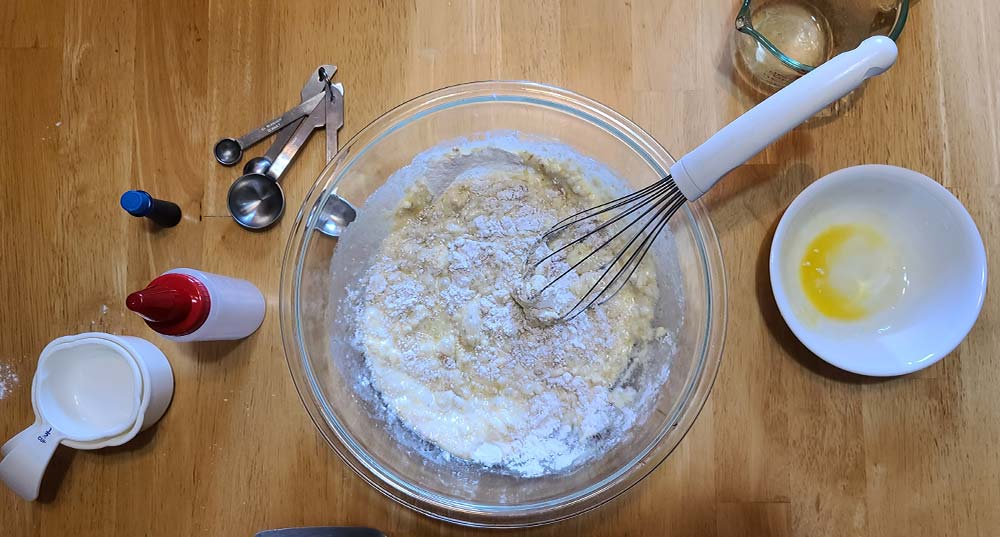
We're mixing wet and dry, just don't overdo it. Going too hard is going to result in gluten development which makes them tough. Lumps are okay!
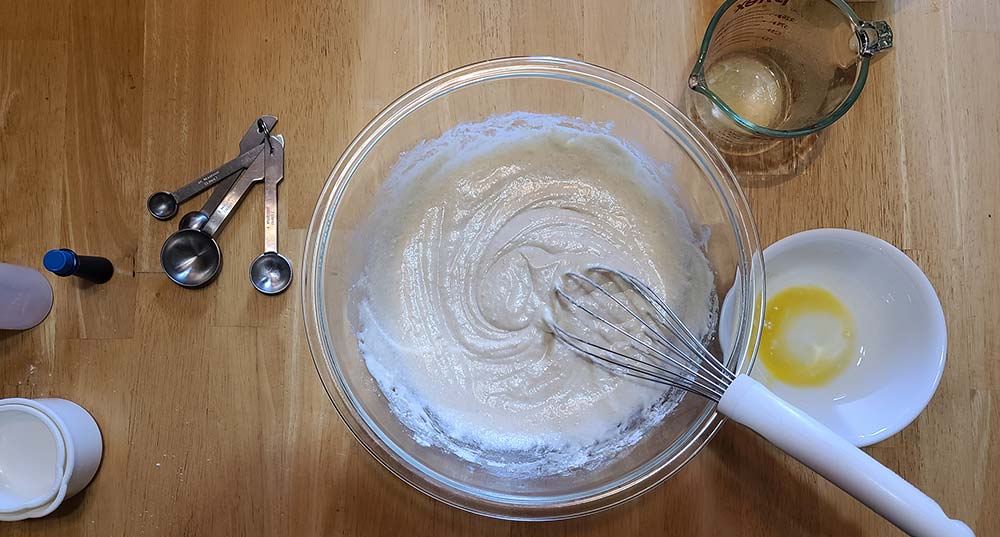
Alright, we're okay here. Not going to bother trying to get the rest of the flour incorporated because we really don't want to over mix this.
Now, since the batter has been masterfully put together, we're going to need to take some of it and make it blue! I used 3/4 of a cup of batter and 4 drops of my blue gel food coloring. I believe it is possible to overdo the blue at this point so add in a drop, mix. Repeat until you're happy with the color - I was happy after 4 drops.
You'll then need to transfer your blue batter into your squeeze bottle. Use a spoon to help scrape out your cup or bowl you mixed the blue batter in.
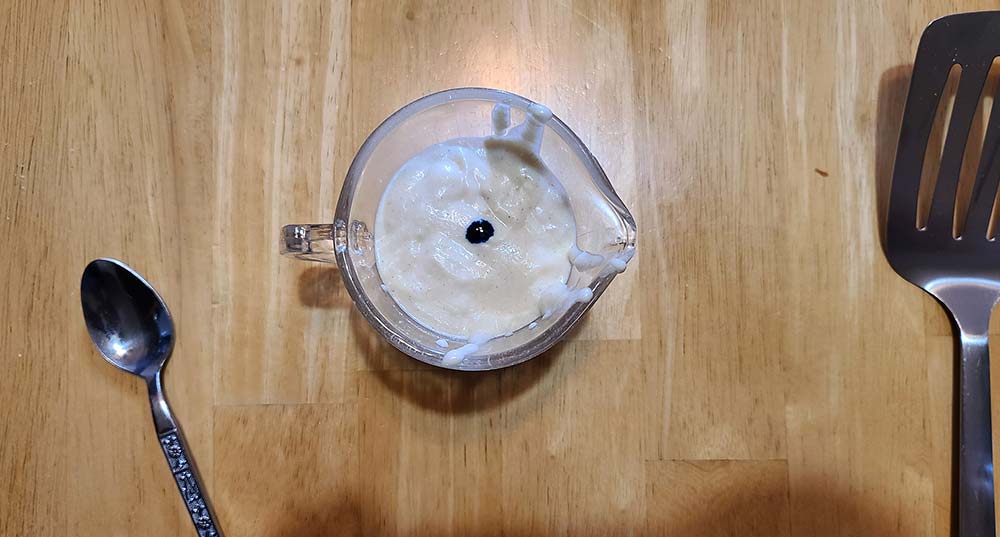
Look at that beautiful drop of blue!
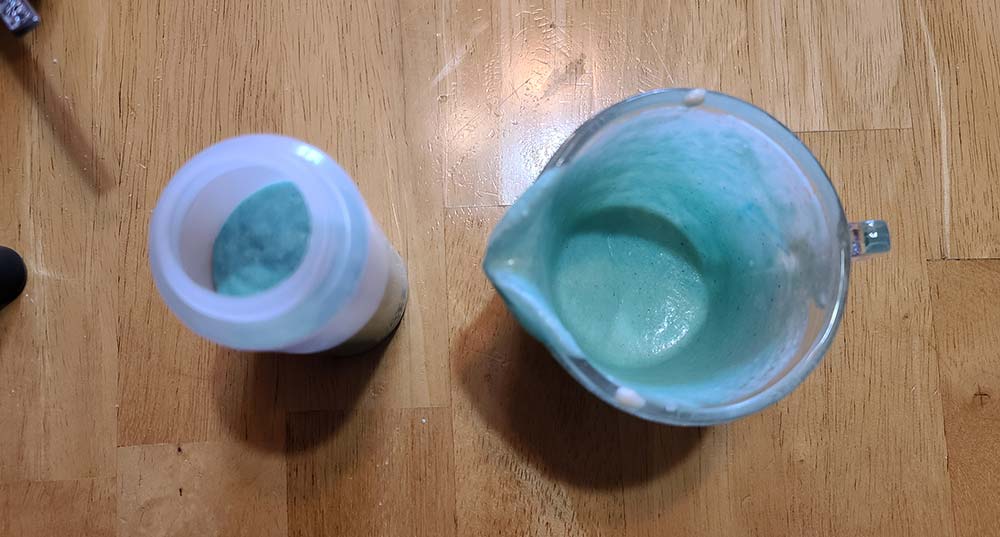
Now that looks like the blue we need!
Making Your Hearthstone Swirl Pancakes
The really fun part! Your first ones are likely to not come out great as you perfect your swirls, but at least they'll still be tasty. I've got my griddle set to 325 degrees freedom (Fahrenheit) and I don't bother putting any fat (butter) on it because it just makes the first batch of pancakes have those gross edges. No judgements if you like the crusty edge pancakes, we'd actually be good friends since you can have the first batch.
We now need to get that iconic swirl down and it's going to be easy.
- Apply pressure to your squeeze bottle to start making a blob in the center area of the pancake.
- When the blob is formed, make a circle counter-clockwise from the blob, starting at 3 o'clock.
- As you get to the 9 o'clock position, you can start to reduce the pressure on the bottle slightly.
- By 6 o'clock, you should have a much thinner tail to the swirl.
- This is all about pressure. Practice makes perfect!
Let's see an example of an okay swirl, a good swirl, and an abomination.
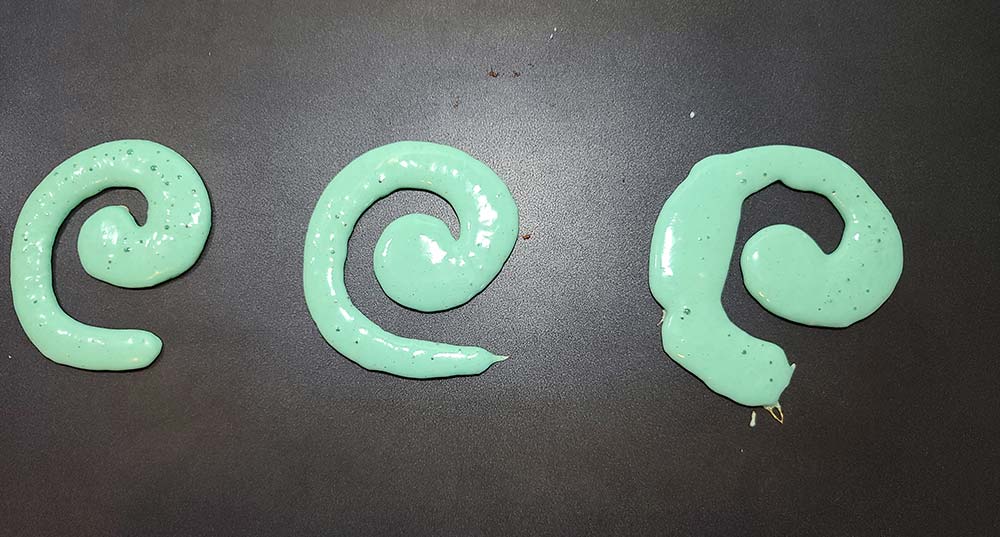
Don't worry if it looks like the swirl on the right, it'll still taste good.
Also, this shows good bubbling on the left-side. The left swirl is ready for normal batter.
Once your swirls are placed down, you're going to want to wait for them to start to bubble. This allows the swirl to support itself for the batter onslaught that is about to smack it in the face. If you are too early, you risk pushing the blue batter onto the surface beside the swirl, making it less defined. Additionally, we've got a second positive here. Since we're not making art pancakes that wouldn't realistically get eaten, this batter gets a bit darker than the other which makes the swirl pop even more!
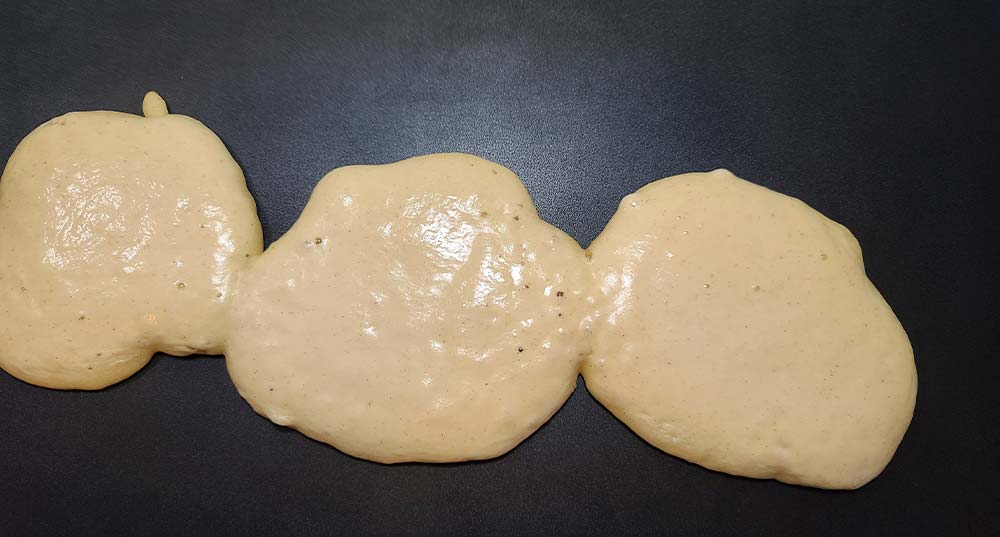
A Mistake! The swirls were placed a bit too close together, resulting in pancakes which became triplets.
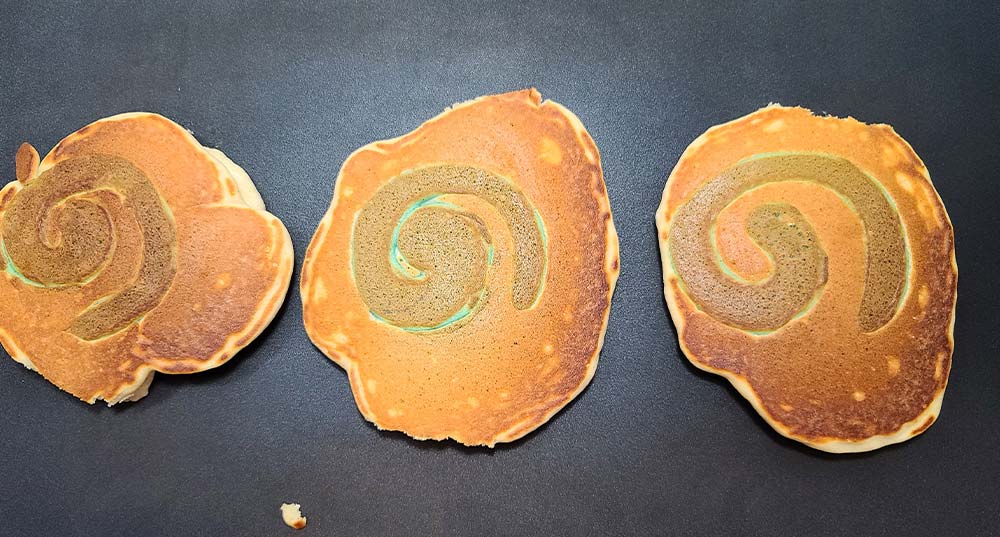
Beauty! Nice and golden brown, slightly darker on the swirl. A blue outline can be seen.
Honestly, you could just not do the blue they'd still look great because of the additional cook time on the swirl.
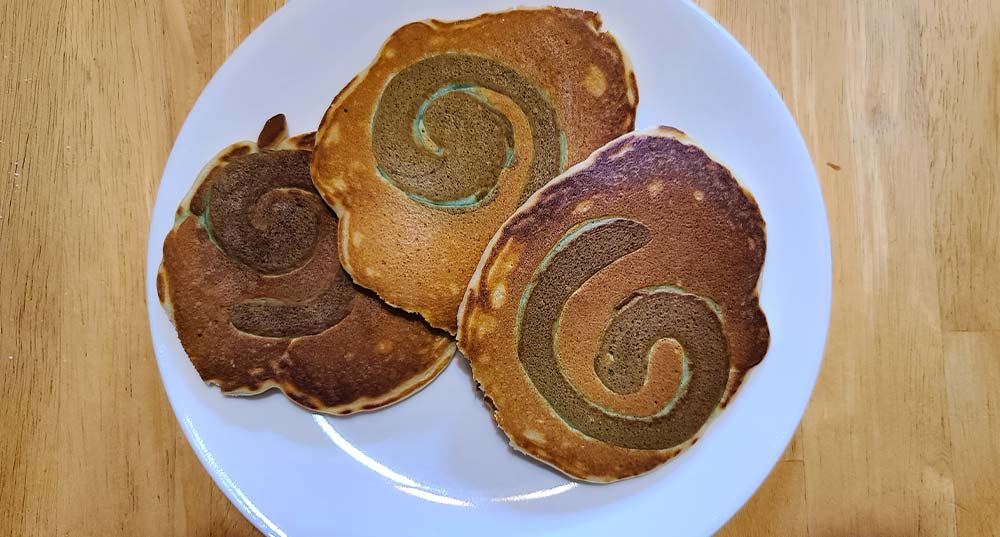
Once done, plate 'em and grab yourself toppings! The keen eye will have noticed all these pictures are different batches.
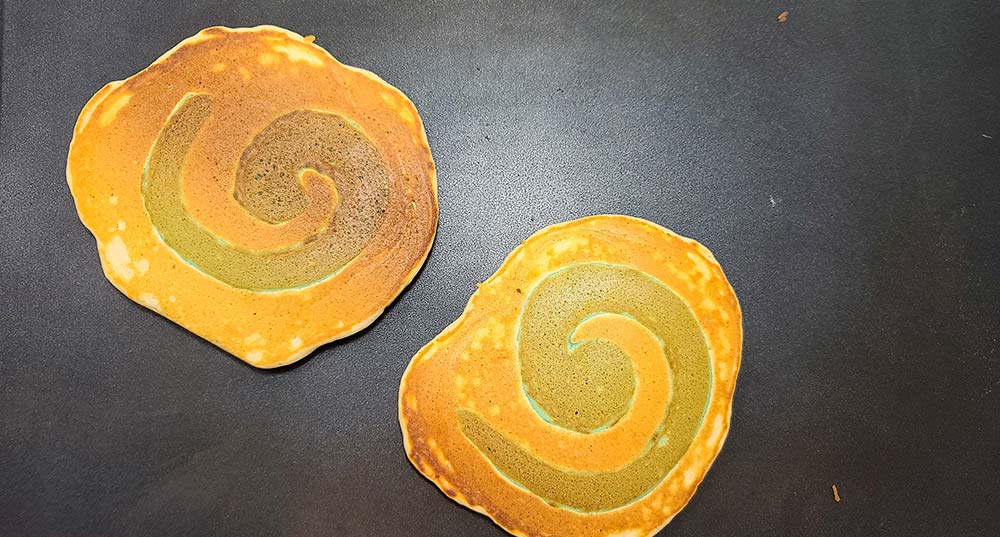
Here are two of the last ones I created. Really happy about the right-side one.
The End Result
Beautiful, imperfect, swirly pancakes. Now, eat up and get climbing that ladder, play some Battlegrounds, or kick back and go enjoy yourself in an Adventure.
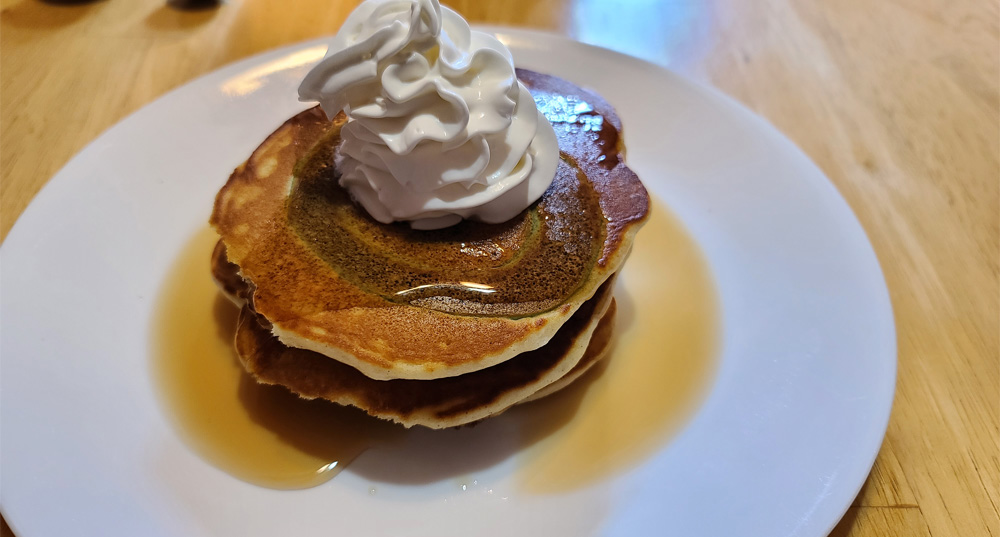
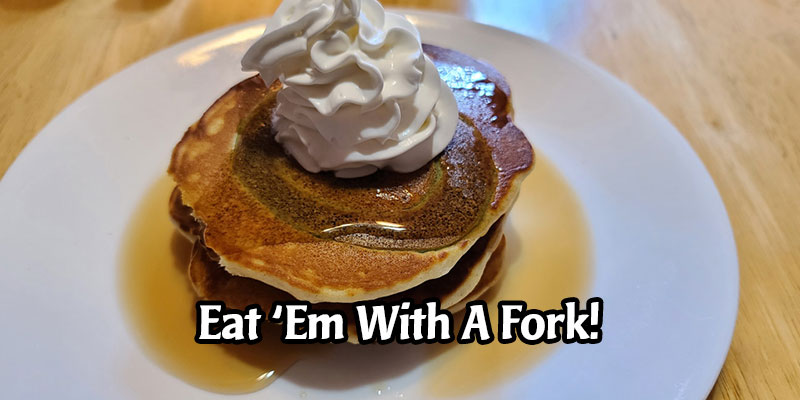
Pancakes in photo are as delicious as they appear.
Whipped cream is beyond excessive, but it certainly looks cool!
Maybe add some berries or a banana to this. Judgement-free zone though if you just want drink the syrup.

Comments
Tasty!
These tasted way better than they looked! For the first round, we tried to add the points to make it a Hall of Fame symbol, but you can see how well that worked out (lower level). I'm actually pretty happy with the last few!
This is awesome to see, they turned out great!
Those look AMAZING! Yum yum yum!
Love this!
I think the colour issue is just about the cooking surface. Were they coloured in the inside?
I wouldn't really consider it an issue. Pancakes get browned from being cooked on a decent level of heat. If you're just making them to be pretty, you cook pancake art at a very low heat and with a very smooth and liquid batter. Those aren't real pancakes though, even if they do look amazing.
But yes, the blue showed up on the inside brightly.
Haha sorry for that. I don't either think is a real issue. In my little knowledge of English, I couldn't come up with a better word to define the problem.
They look great, I would definitely eat them!
Too lazy to make, but looks great!
Bring it on!
Very cool!
Make a hearthstone pancake cardback. Just imagine the many legendary cards you could have had every time you flip that pancake.
You brought the concept of "hearthstone recipe" to the next level here.