
Nintendo Switch
How to Transfer Your Screenshots Off Your Nintendo Switch
Learn the three ways you can get your precious screenshots and videos off your Nintendo Switch and Nintendo Switch Lite.
Getting screenshots off your Nintendo Switch has never been a fun task, but with November 2020's Switch firmware update, we've got new options that make the process easier to get access to your memories. In this guide we'll go over the three different ways that you can get screenshots off your Switch, starting with the easiest.
Send Screenshots to Your Phone From Nintendo Switch (New 2020)
Nintendo has added support in November 2020 to download screenshots right off your Switch to your phone! You will need a smart device, so a phone or tablet running iOS or Android to follow these instructions, and your Switch must be running firmware that is at least version 11.0.
- On your Home Menu, select the Album icon at the bottom of the screen and press "A" to view your entire screenshot / video collection.
- Select the media you would like to transfer and press "A" on your controller.
- When the media is loaded in full screen, press "A" again to open the side menu.
- Select "Send to Smartphone" and press "A". You will now get to choose if you want to send only this media, or multiple.
- Grab your phone to scan the QR code that appears on the screen.
- On your phone, confirm that you want to join the WiFi network which name starts with "switch_".
- Scan the second QR Code on your Switch which will now open a web browser. Alternatively, visit 192.168.0.1/index.html on you phone.
- A web page will display on your phone that shows the media you wanted to save. Tap on each one to maximize it and hold down on it to save to your device.
The process is a bit cumbersome, but is quick to setup, requires no cables, and doesn't require powering off your Switch. From a technical perspective, this is a cool way to make use of hosting a web server on your Nintendo Switch with the security of it also hosting a custom WiFi network to securely grab the images.
Send Screenshots to Your Windows PC From Nintendo Switch
If you have a PC running Windows, you can bulk download screenshots from your Switch by grabbing a USB-C cable that will work with your computer and connecting the two devices together. This cable will need to be capable of data transfer, some very cheap cables only support charging, so if you can, use the USB-C cable that came with your Switch because it's high quality. Let's go over the steps.
- Connect your Switch to the PC running Windows with a USB-C cable.
- Starting on the Home Menu on your Switch, select System Settings and press "A".
- Under the Data Management menu, find the option for "Manage Screenshots and Videos" and press "A".
- Scroll down until you find "Copy to PC via USB Connection" and press A.
- On your PC running Windows, open File Explorer.
- Find "Nintendo Switch" on the left-side pane under "This PC".
- Copy any media from your Switch to whichever folders you would like to on Windows.
As the Nintendo Support article states, this works due to support for MTP, or Media Transfer Protocol. Macs do not support it natively, so if you have a computer running MacOS, you will need to find a third-party application that supports MTP. In theory, the same instructions should work on Linux, but the distribution will need to have MTP support and the instructions will vary based on how your desktop environment is configured.
Send Screenshots to Your Device via MicroSD Card
Finally, the tried and true method that only requires a device that supports reading a MicroSD card! Since this is going to vary quite a bit based on what system is reading the MicroSD card, we've included the essential instructions to help you out.
- Power your Nintendo Switch off.
- Hold the Power Button for 3 seconds and then select "Turn Off" under "Power Options".
- Remove the MicroSD card from the slot on the back of your Switch - please see images below based on your model.
- The original Switch has this under the small kickstand on the rear of the device.
- The OLED Switch has this under the large kickstand on the rear of the device.
- The Switch Lite has a dedicated MicroSD card slot seen at the bottom of the rear of the device.
- Insert the MicroSD card into your device you want the media files on.
- Find the contents of your album at the following path on the MicroSD card "\Nintendo\Album", which is further organized by Year, Month, and Date folders.
- Copy the media files over that you would like to keep.
- Eject the MicroSD card, if required for your device.
- Reinsert the MicroSD card into your Switch.
- Turn your Switch back on and play more games.


We hope this guide has helped you get your precious memories off your system. Let us know if you run into any issues.
About_Author

Robert "Fluxflashor" Veitch is the founder of Out of Games. With over a decade of experience in gaming content, and being done with the exhaustion of corporate nonsense, he wanted to do something different with a focus on the community in this online world that tries so hard to just make everyone just another number. Robert is currently playing whatever interesting game shows up next. He can be contacted via direct messages.
More_None_Guides
How Standard Rotations Work in Hearthstone - Year of the Scarab

Steam Wallet Pending Balance? Here’s Why Your Sale Funds Are Delayed

Top Money-Making Crops to Plant During Spring in Stardew Valley
Latest_Nintendo Switch_Guides
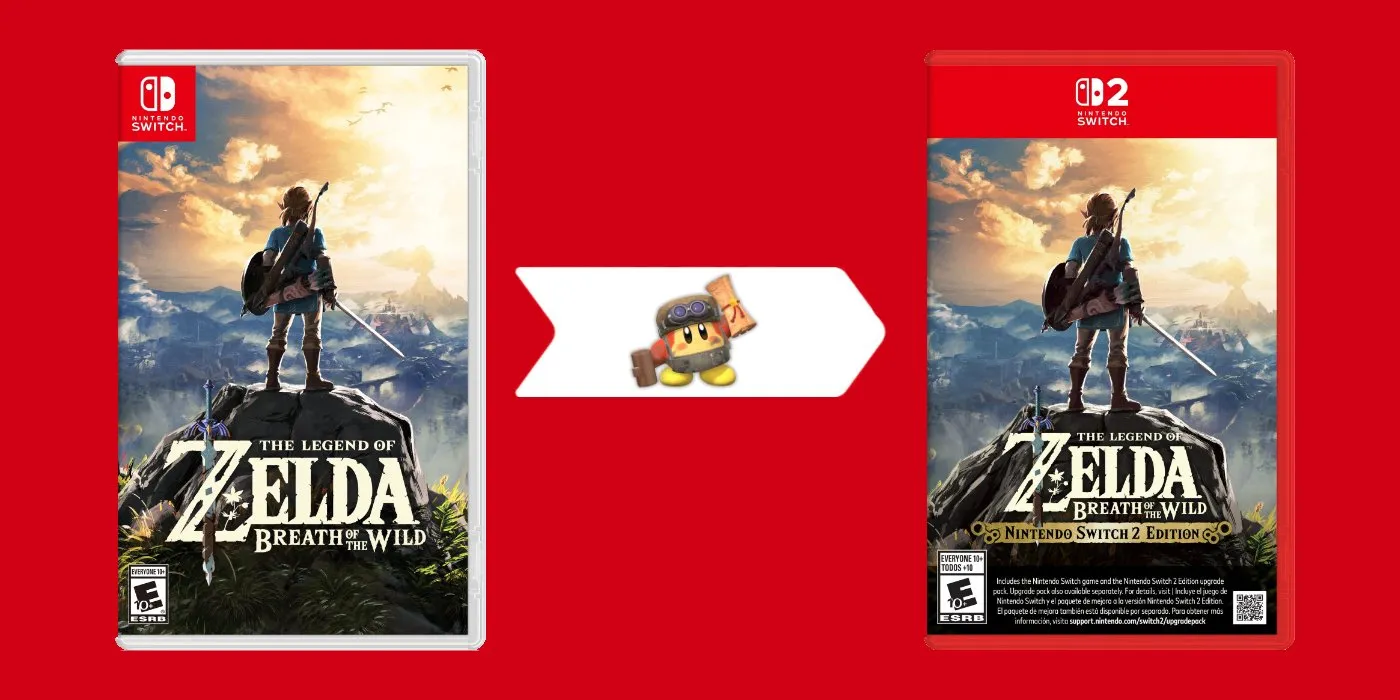
How Upgrading Switch Games to Switch 2 Versions Works
Leave a Comment