
Marvel Snap
Ranking Every Series 4 & 5 Card in MARVEL SNAP - Token Shop Tier List
Having a hard time deciding what Series 4 or 5 card you should spend your hard-earned Collector's Tokens on? We've broken the cards of Series 4 and 5 into Tiers to help you decide whether to buy, pin, or ignore the card that's shown up in the Token Shop.
Each card is placed in a Tier based on a variety of factors: how well it fits into a variety of decks, how important it is for the decks that run it, and how expensive it is. If a card is in A Tier, this doesn't mean that it only sees play in one A Tier deck; rather, we put it in A Tier because it's a more impactful use of the limited resource of Collector's Tokens than a card from a lower Tier.
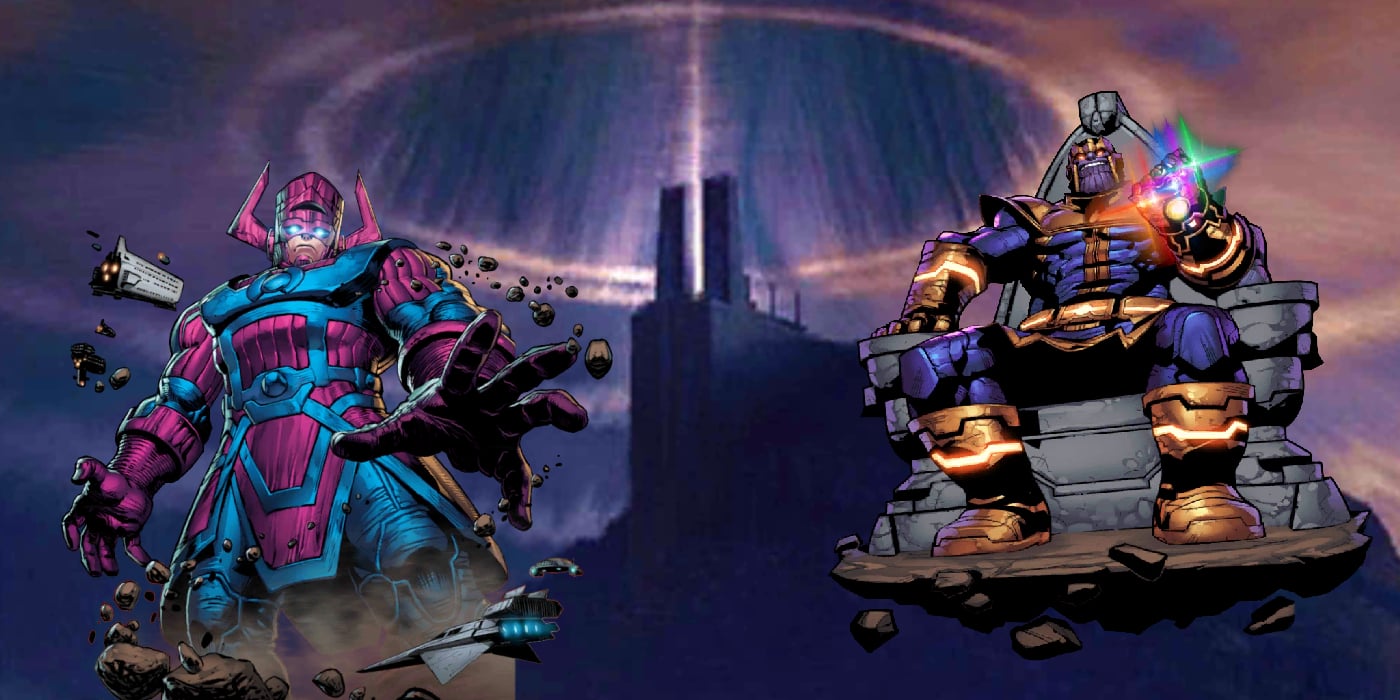
Cost is also a huge factor; because a Series 5 card costs twice as many Tokens as a Series 4 card (6000 vs. 3000), we feel that it should be twice as impactful to rate the same as a comparable Series 4 card. Some cards in Series 5 (Thanos, Galactus, and Kang) will be staying in Series 5 for the foreseeable future, and thus will eventually require an investment of 6000 Collector's Tokens. The other cards in Series 5 will eventually move down to Series 4, halving their Token cost.
We're using the logic that, if you only have the requisite Tokens to spend, you should hold onto your Tokens for a card of the highest Tier possible rather than use them on something in a tier below. Cards in the same tier are, in our opinion, similar in impact and the decision to buy one over the others is entirely up to your discretion. Your personal preference should be the most important variable when deciding whether to purchase a card; our ranking exists solely to assist players in their MARVEL SNAP journey. It is important to remember that, should you purchase a card that is later nerfed, you will receive no refund or compensation - if a card is confirmed to be on Second Dinner's watchlist, we will immediately move it to the bottom Tier.
With the new Spotlight Cache system, cards in this list will be featured from week to week in Spotlight Caches; you can also use this tier list to help you decide whether its worth it to spend Credits and move up to the next Spotlight Cache in a given week.
There is no ranking within tiers; cards are presented in alphabetical order. Some of our images do not reflect a card's current stats; our rankings are based on the card as it currently exists in MARVEL SNAP.
Recent Changes (7/31)
- Added: Echo (D Tier); Ghost-Spider (D Tier); Jean Grey (D Tier); Legion (C Tier); Mirage (B Tier); Phoenix Force (C Tier); Spider-Man 2099 (D Tier)
- Moved: Darkhawk (A Tier to B Tier); Iron Lad (C Tier to B Tier); Kitty Pryde (D Tier to C Tier); Nimrod (D Tier to C Tier) The Living Tribunal (D Tier to C Tier)
A Tier: Strong, Worth the Tokens
These cards are strong inclusions to any collection by either making a variety of decks better with their presence or being a good buildaround.
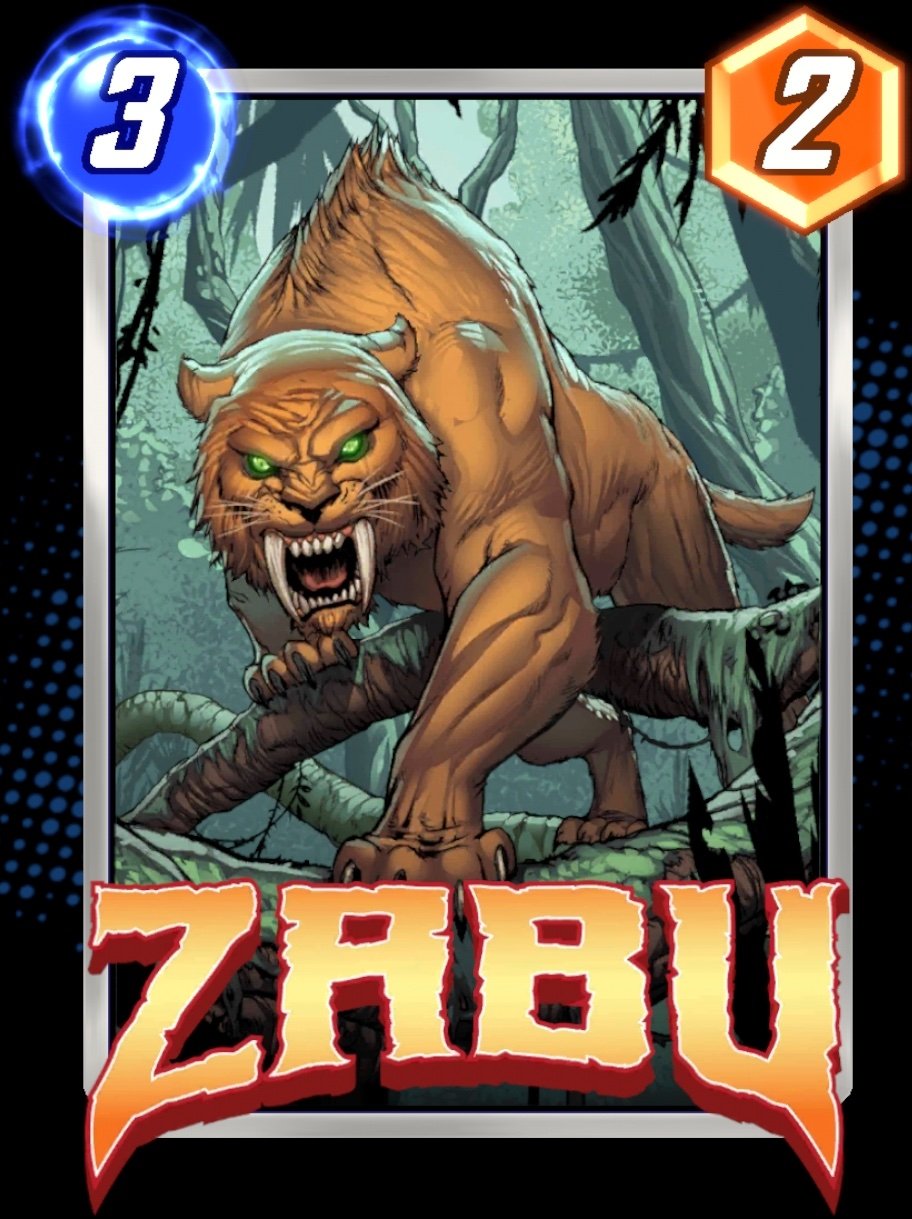 Ongoing: Your 4-Cost cards cost 1 less (minimum 1). Ongoing: Your 4-Cost cards cost 1 less (minimum 1). | Zabu is a key enabler of a variety of 4-Drop centric strategies. Even after the nerf this kitty is one you'd like to have around. |
B Tier: Good Value
These cards are worthy of the Token investment, especially if you're looking to play a deck that needs them to function.
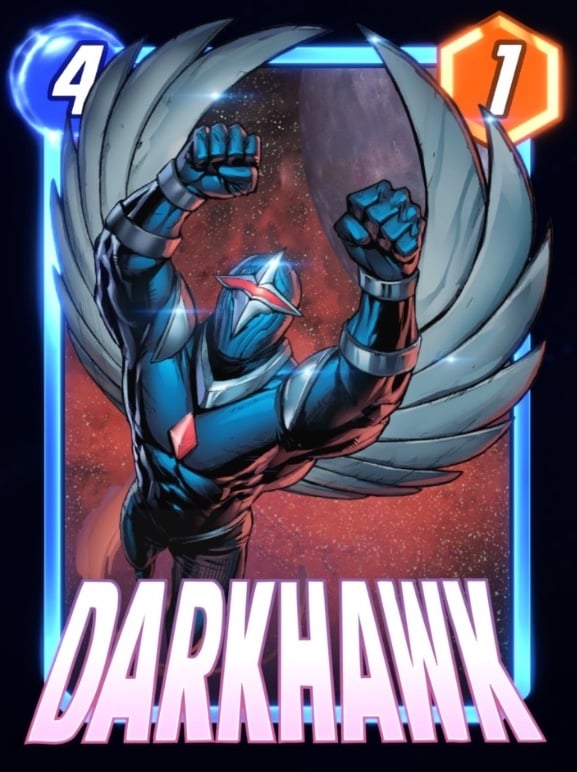 Ongoing: +2 Power for each card in your opponent's deck. Ongoing: +2 Power for each card in your opponent's deck. | Darkhawk had his day in the sun, but meta shifts and the introduction of more powerful buildarounds have taken some of the shine off. At 3000 Tokens, still a value. |
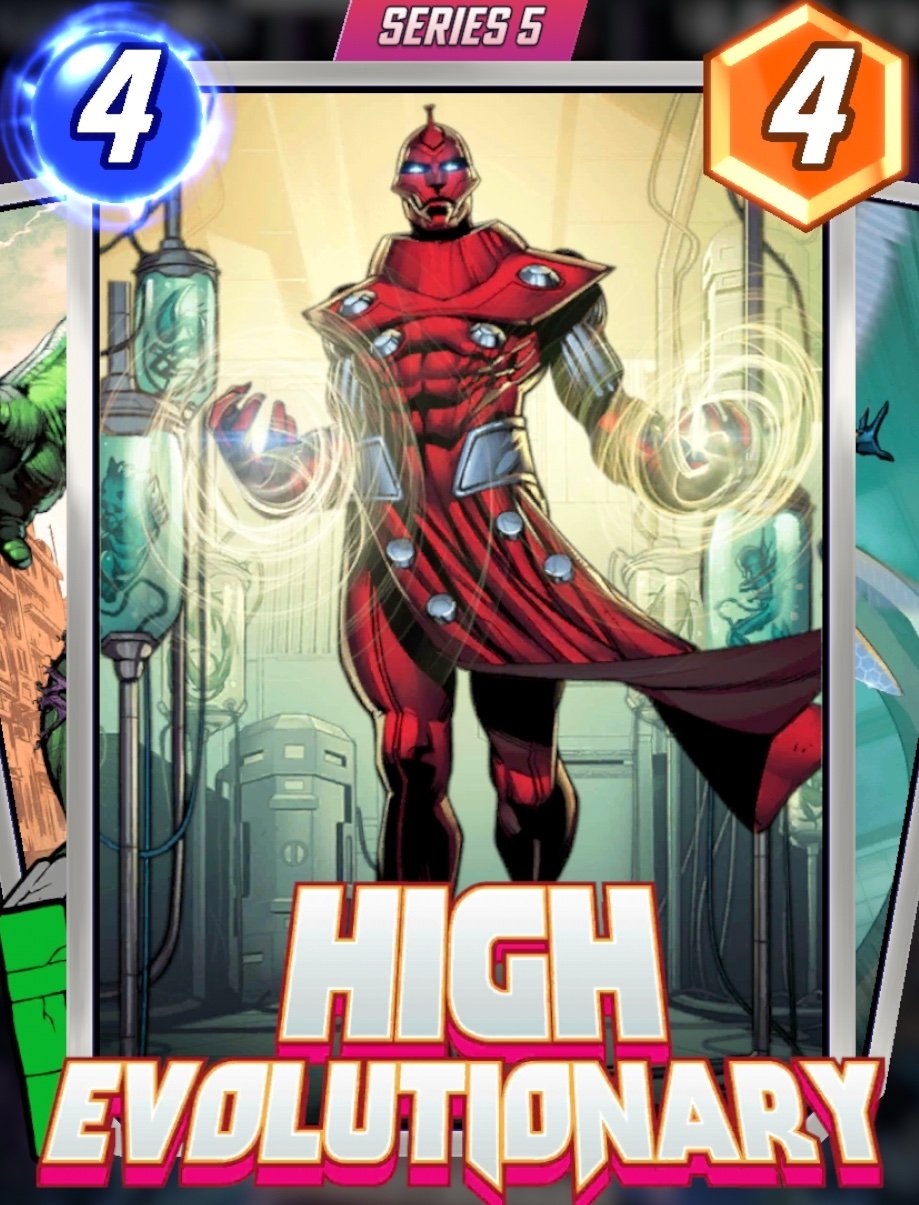 At the start of the game, unlock the potential of your cards with no abilities. At the start of the game, unlock the potential of your cards with no abilities. | High Evolutionary is currently the best Big Bad to buy. Although 6000 Tokens is steep, he can boost a variety of decks with his Evolved cards. |
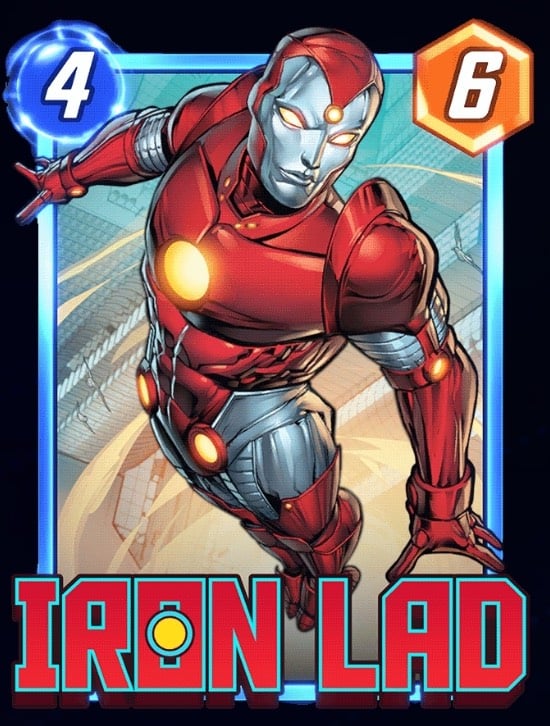 On Reveal: Copy the text of your deck's top card. On Reveal: Copy the text of your deck's top card. | Iron Lad is a powerful duplicator of any card. At first glance, you may not think he's worth paying 6000 Tokens, but his flexibility makes him valuable. |
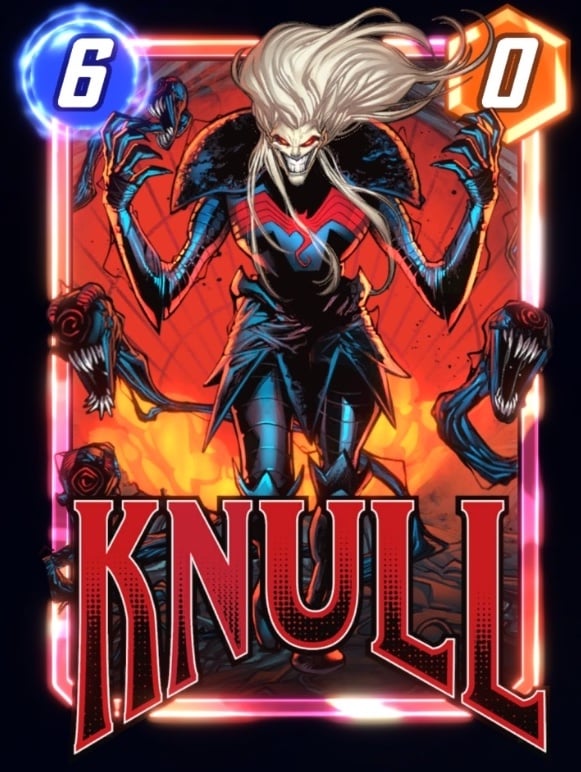 Ongoing: Has the combined Power of all cards destroyed this game. Ongoing: Has the combined Power of all cards destroyed this game. | Knull shows off in Destroy decks like those built to abuse Deadpool, and can also be a fun secondary win condition in Galactus decks. |
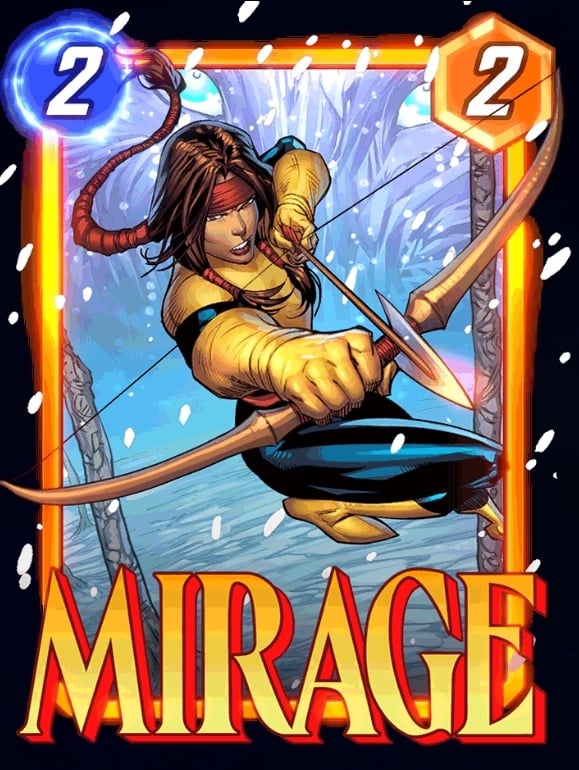 On Reveal: Copy the lowest-Cost card in your opponent's hand into your hand. Give it +2 Power. On Reveal: Copy the lowest-Cost card in your opponent's hand into your hand. Give it +2 Power. | Mirage is cheap, gives you information about your opponent, and plays well with Quinjet. A solid purchase for 3000 Tokens. |
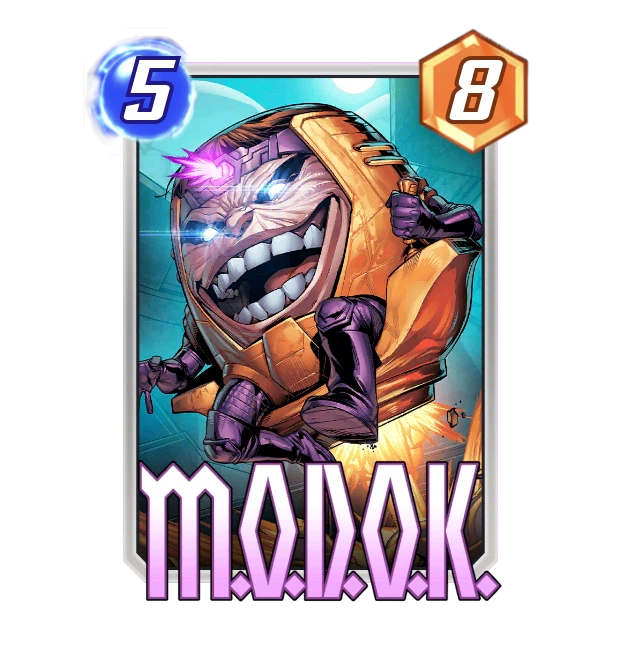 On Reveal: Discard your hand. On Reveal: Discard your hand. | MODOK is the strongest discard enabler in the game, and a must-have if you plan on trying to climb the ladder with specifically a Discard strategy. |
 On Reveal: Transform the highest-cost card in your opponent's hand into a Pig, keeping its Power and Cost. On Reveal: Transform the highest-cost card in your opponent's hand into a Pig, keeping its Power and Cost. | Spider-Ham is cheap disruption and fits into a variety of annoying archetypes. A more amenable cost (for a new card) at 3000 Tokens makes him a decent pick-up. |
C Tier: Almost Worth the Cost
These cards are just a little too expensive, Tokens-wise, for what they do. If you want them, by all means buy them. Just don't expect a huge return on investment.
 On Reveal: If you're winning this location and this is your only card here, destroy all other locations. On Reveal: If you're winning this location and this is your only card here, destroy all other locations. | Galactus is still an OK build-around, but costs (and will continue to cost) 6000 Tokens. |
 On Reveal: Gain +2 Power for each other card you played this turn. On Reveal: Gain +2 Power for each other card you played this turn. | Hit Monkey is a fun partner for Sera decks, and can be experimented with in a variety of other decks, but at 6000 Tokens is a tad too expensive. |
 You can move this once. Nothing can stop you from moving or playing this to any location. You can move this once. Nothing can stop you from moving or playing this to any location. | Jeff is close to an auto-include 2-Drop with the flexibility to get into any location (and ignore Sandman restrictions), but 6000 Tokens is pretty pricey for what he does. |
 When this returns to your hand, +1 Power. Returns at the start of each turn. When this returns to your hand, +1 Power. Returns at the start of each turn. | Kitty Pryde is a very efficient 1-Drop if you draw her early enough to start her engine. |
 On Reveal: Replace each other location with this one. On Reveal: Replace each other location with this one. | Legion has a wacky, game-altering effect that can catch an opponent off guard with the right set-up and comes fairly cheap at only 3000 Tokens. |
 Each turn your opponent doesn't play a card here, +2 Power. (except the turn you play this) Each turn your opponent doesn't play a card here, +2 Power. (except the turn you play this) | Nebula is a very good 1-Drop, especially for decks that can control locations, but we're not sold on paying 6000 Tokens for her. |
 When this is destroyed, add a copy to each other location. When this is destroyed, add a copy to each other location. | Nimrod is a niche card, but if you're interested in bending over backwards he can sometimes reward you. |
 On Reveal: Revive one of your destroyed cards and merge with it. That card can move each turn. On Reveal: Revive one of your destroyed cards and merge with it. That card can move each turn. | Phoenix Force is incredibly powerful - if you can isolate a Human Torch as host. The card flounders if it doesn't hit its high roll, but flourishes if it does. |
 Costs 1 if your opponent discarded a card from their hand this game. Costs 1 if your opponent discarded a card from their hand this game. | Stature belonged in a higher tier before the nerf to her and Black Bolt; now, we're back to being wary of her lack of synergies. |
 At the start of the game, shuffle the six Infinity Stones into your deck. At the start of the game, shuffle the six Infinity Stones into your deck. | Thanos has lost his shine in recent days, but is still a viable option even though he's no longer the best thing you can buy for 6000 Tokens. |
 Ongoing: Split your total Power evenly among all locations. Ongoing: Split your total Power evenly among all locations. | TLT's recent buff makes him a lot more useful as a win condition, especially in tandem with Iron Man. |
D Tier: Wait for the Drop
These cards are definitely not worth their current price in Tokens. You're better off waiting for them to Drop down in Series, when you can pick them up for a discount.
 After your opponent plays an Ongoing card here, remove its abilities. After your opponent plays an Ongoing card here, remove its abilities. | Echo will keep a Location free of Ongoing effects, but she hasn't proven herself worthy of your attention. |
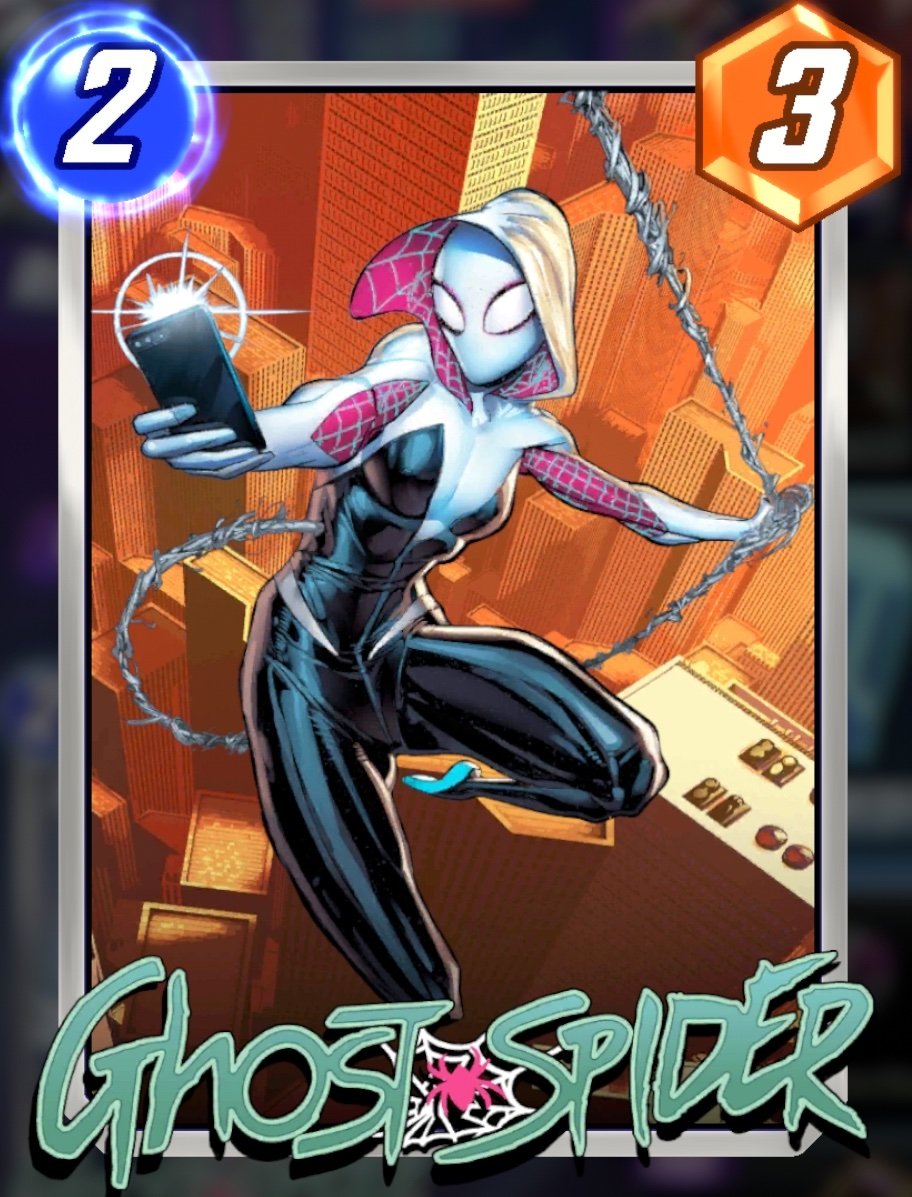 On Reveal: The last card you played moves here. On Reveal: The last card you played moves here. | Movement decks are fringe and fun, and while Ghost-Spider has her applications she's by no means a necessary part of the archetype. |
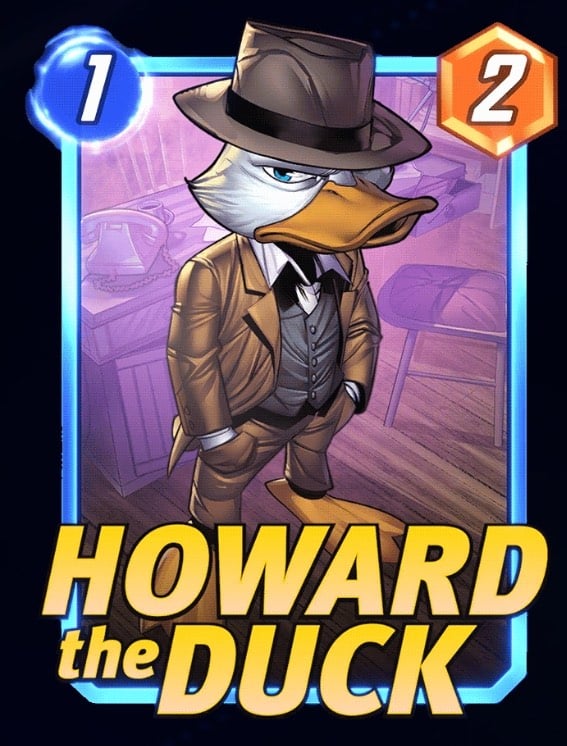 Ongoing: Tap this to see the top card of your deck. Ongoing: Tap this to see the top card of your deck. | Howard the Duck is fun, but his effect is negligible unless you're using him to spy a potential Iron Lad target. |
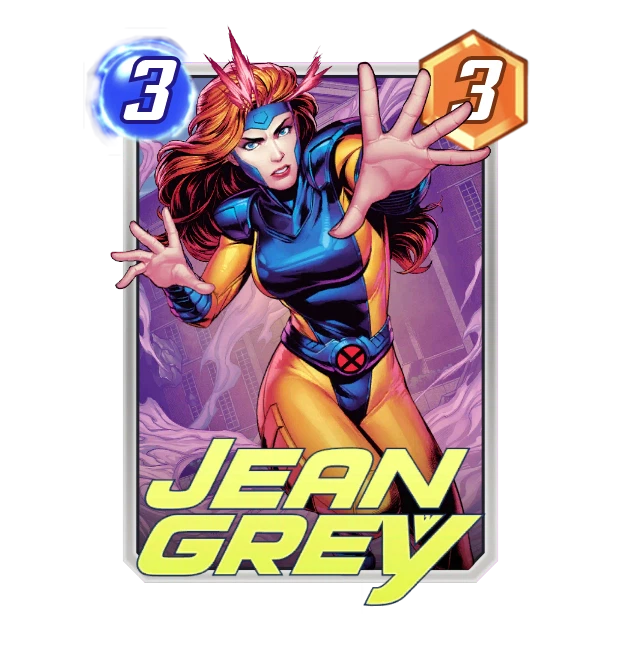 Ongoing: Players must play their first card here each turn. (if possible) Ongoing: Players must play their first card here each turn. (if possible) | Jean Grey plays well with Location control strategies, but they don't find it essential to cut other cards for her. |
 On Reveal: Look at what your opponent did, then restart the turn. (without Kang) On Reveal: Look at what your opponent did, then restart the turn. (without Kang) | Kang just isn't a very good card, so even though we don't know how long it will take for it to drop into Series 4, 6000 Tokens is way too much for him. |
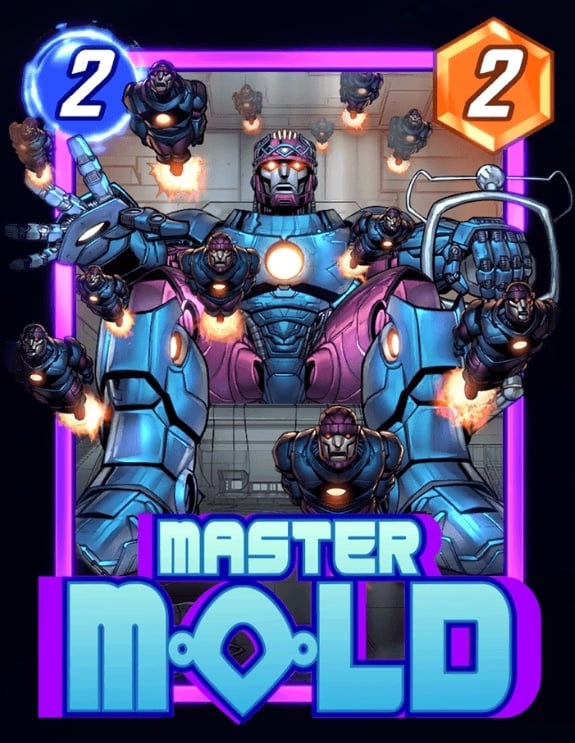 On Reveal: Add 2 Sentinels to your opponent's hand. On Reveal: Add 2 Sentinels to your opponent's hand. | Master Mold has a home in prison-style strategies, but they aren't exactly laying out the welcome mat for him. |
 After ANY card is played here, destroy this card AND that card. After ANY card is played here, destroy this card AND that card. | NTW hasn't shown enough for us to be sure it's worth the Tokens. |
 After ANY card is played here, this moves to another location. After ANY card is played here, this moves to another location. | Silk has a strong body and opens up niche Cerebro 5 decks, but 6000 Tokens is too much for a niche card. |
 Passive: While in your hand, this transforms each turn into a Hawk or Bear. Passive: While in your hand, this transforms each turn into a Hawk or Bear. | Snowguard's Hawk and Bear forms are unique, but it's hard to justify spending Tokens on a card whose effect varies so much (and sometimes doesn't even matter). |
 The first time this moves to a location, destroy an enemy card there. The first time this moves to a location, destroy an enemy card there. | Spider-Man 2099 just isn't very good: he requires movement for his effect to activate and doesn't allow his control to target the card destroyed. |
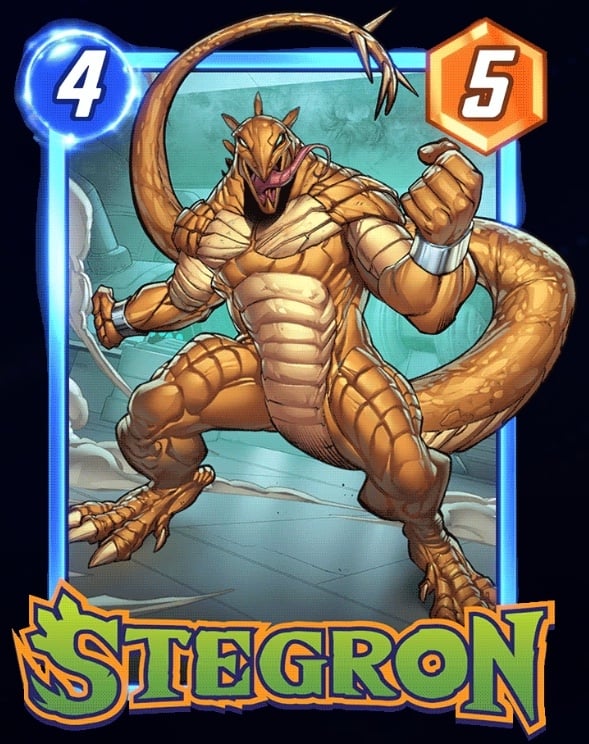 On Reveal: Move an enemy card from here to another location. On Reveal: Move an enemy card from here to another location. | Stegron is an unspectacular 4-Drop with limited use. As much as we'd like to bump him up a Tier following his Drop into Series 4, there's just not a lot you can do with him. |
F Tier: Nerf Bait
These cards are confirmed to be on Second Dinner's watchlist for balance changes. Because the Token Shop offers no refunds for nerfed cards, we cannot advise the purchase of these cards until we know what kind of balance changes they'll receive.
About_Author

sule is immensely grateful to anyone who's ever taken the time to read his nonsense. He will continue wanting to turn people into dinosaurs.
You can't follow him on social media. You can try to follow him on the street but you'll never be quiet enough.
More_Marvel Snap_Guides

A Guide to MARVEL SNAP's Token Shop
How Champion Skins Work in Legends of Runeterra
Latest_Marvel Snap_Guides
Leave a Comment