
Welcome to the Ritual league mechanic guide! Here we'll take you through all the gameplay surrounding Ritual, from the different Ritual altars to using Ritual Vessels to empower your future encounters, as well as the handful of exclusive items you can only find doing this content.
Ritual is considered Extra Content, meaning it has a baseline non-zero chance of randomly appearing in maps.
Our league mechanic guides are structured according to "Depth" - the deeper you go into the article, the more complex the mechanics get. If it all becomes too much, take a break from this guide, play with the league mechanic enough to master the fundamentals then come back and delve deeper!
Difficulty: Low-Average
Complexity: Very low, for Path of Exile standards.
The icon that denotes Ritual content and rewards of the Ritual type.
- Ritual league launched in January 2021 and has been part of the game ever since.
- Inactive Ritual Altars made a cameo in the Affliction league, which may point to a way for the King in the Mists boss to return one day!
Depth 1 - Ritual Encounters
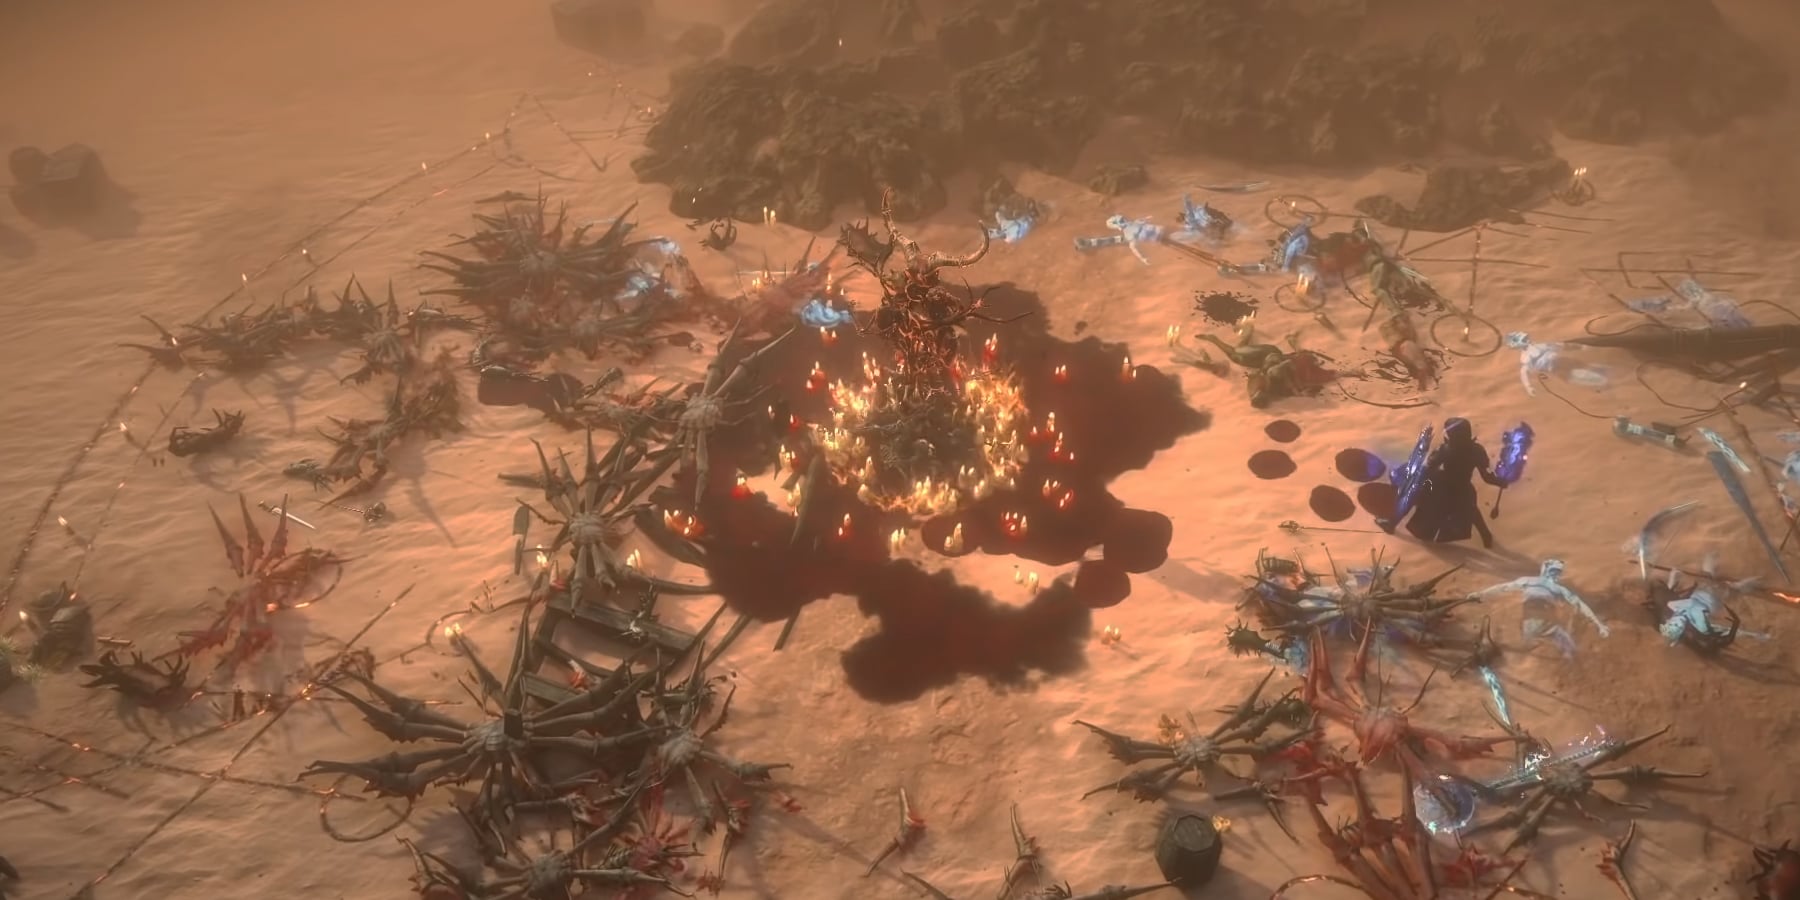
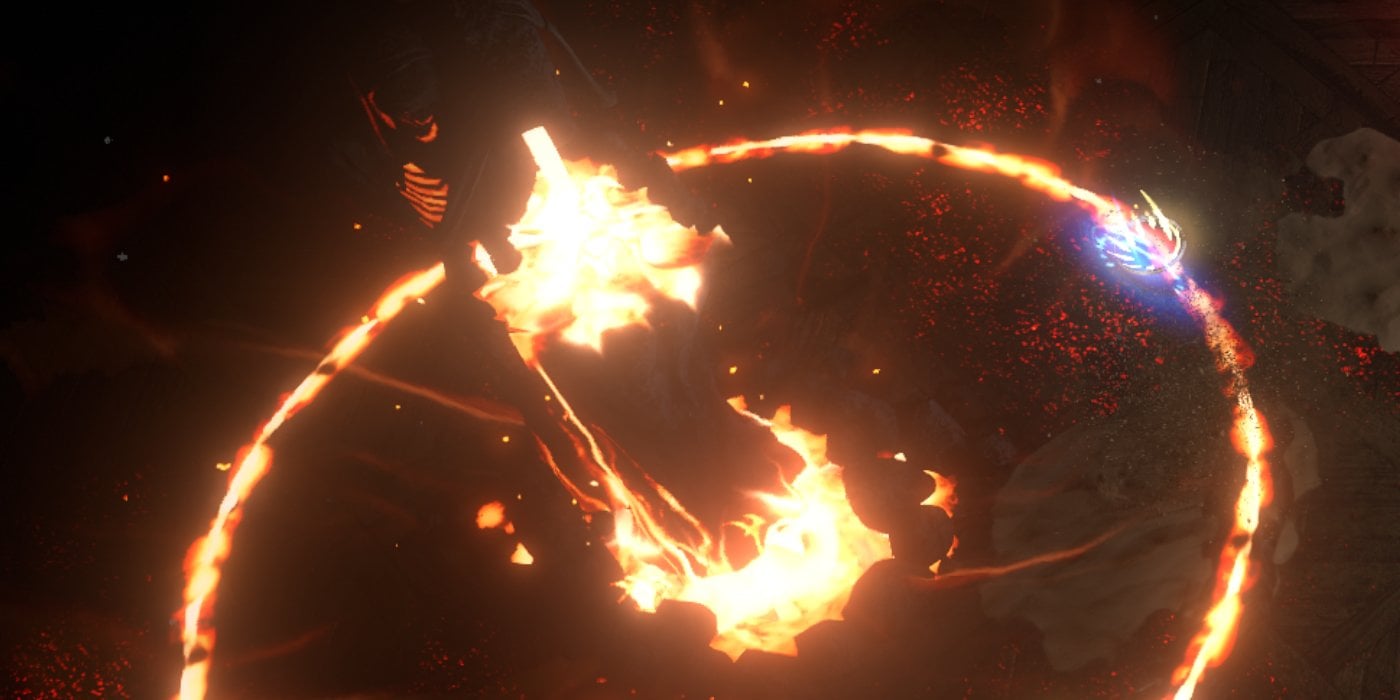
During your travels, you may come across a Ritual Altar in your maps. When you click on it, the ritual begins and you're trapped in a (generally) circular arena with monsters spawning left and right. You cannot leave until all the monsters are defeated! Monsters grant you Tribute upon death, and you can use that Tribute to purchase items from the Ritual interface. Thus, the gameplay loop of Ritual can be summed up as such:
- You will find a Ritual Altar in maps. You click on it and the encounter begins.
- For the duration of the encounter, monsters you killed around the Ritual Altar will be reborn in waves and attack you.
- Killing monsters awards Tribute, the main currency of this league mechanic.
- Once all the monsters are killed or you die, the Ritual is over.
- You can see what items you can buy with Tribute by either clicking the Ritual Altar or the big red square button at the bottom-right corner of your screen.
You'll notice on that button the numbers "1/3" or "1/4". This tracks how many Ritual Altars you've activated / completed in the map, because yep, you get 3 or 4 per map! In the next section, we'll take a look at what more Ritual Altars mean in the grand scheme of things.
Here's a short video showing how all of this works:
video
You'll note that not all Ritual Altars spawn in a place where they could generate a perfect circle. Sometimes you'll have to deal with cramped arenas, unfortunately. Thankfully, if you're on one of those few maps with lots of gaps in the terrain that may make monsters unreachable, the game has figured all that out. If monsters stay alive and idle for too long, they will eventually be teleported to the Ritual Altar, making it possible to kill them.
Depth 2 - Tribute & Favors
In the language of Ritual, "Tribute" is your money, while "Favors" are the items you can buy. You'll notice upon completing your first Ritual in a map that some Favors are hidden. Every Ritual will have three "tiers" of Favors. You unlock a tier by completing a Ritual, meaning that when you complete your third Ritual, you'll finally be able to see all that the Ritual Altars have to offer.
But what if you messed up a Ritual, failing to kill a few juicy monsters, and you don't have enough Tribute to purchase a particularly valuable Favor? Or, what if you completed all Rituals properly, but an item is still too expensive to buy? Don't worry, because the "Defer Item" button at the bottom of the Ritual interface has you covered!
When you Defer an item:
- You are paying for 10% of the item's cost now, plus a 5% fee.
- A deferred item will eventually reappear in a future map's Ritual Altar Favors, costing 10% less.
- You can buy it then, or further defer it up to 9-10 times, until you're comfortable enough to buy it.
- If a deferred item shows up, but you don't buy or Defer it again, it will show up once more but will cost 10% more.
- The next time it shows up, you'll have to defer it again or buy it, or it will be lost forever.
Bear in mind some super-rare items will, by default, start with an astronomically high price. You'll have to pay the same high deferral cost several times to eventually afford to buy it, so make sure your future Rituals are as optimized as possible! We'll get into that in Depths 5-7.
But what if you don't find any of the Favors appealing? Well, for the "measly" cost of 2000 Tribute, you can use the button on the top-right corner of the Ritual interface and reroll your Favors!
Here's a short video going over all of these mechanics:
video
Depth 3 - Ritual Types
You'll notice Rituals come in many flavors. Some might shoot ice beams at you while others may unleash Tormented Spirits in the arena. Some of the more dangerous varietes even come with special reward modifiers! Ritual Altar descriptions you find in maps won't always include all the little details you might want to know, so we've assembled a few tables to show you what you can expect. To make it easier to remember exactly what each type of Ritual does, we recommend keeping this page open while in-game and reading up on each Ritual Altar's type as you encounter it!
Tier 1 Ritual Altars
Tier 1 Ritual Altars are the most basic. They do not have any special reward modifiers and their only differences lie in their effects. They are by far the most common ones you'll find.
| NAME | CATEGORY | EFFECTS |
| Infernal | Elemental (Fire) |
|
| Bitter | Elemental (Cold) |
|
| Fluctuant | Elemental (Lightning) |
|
| Dreaded | Chaos (Wither) |
|
| Foul | Chaos (Poison) |
|
| Fortress | Totem |
|
| Violent | Totem |
|
| Ensconced | Empower Enemies |
|
| Suppressive | Empower Enemies |
|
| Charged | Empower Enemies |
|
| Emboldening | Empower Enemies |
|
| Invigorating | Empower Enemies |
|
Tier 2 Ritual Types
Tier 2 Ritual Altars are "upgraded" versions of some of the Tier 1 Altars. Before you look through the table below, there's two things to keep in mind:
- All of the following Rituals have a hidden modifier that guarantees all Favors will be of the same type (Uniques / Currency / Divination Cards). //needs citation!!!!!!!!!!!!!!!!!!!
- All of the following Rituals include the same upgrade to monster damage their Tier 1 counterparts grant.
| NAME | TIER 1 COUNTERPART | EFFECT |
| Apocalyptic | Infernal | Meteors are much quicker and stronger. |
| Glacial | Bitter | There are now 6 icy beams. |
| Volatile | Fluctuant | Skull Spires fire much faster, and fire 8 Lightning Orbs. |
| Malevolent | Dreaded | There are now two floating Anomalies and they more often. |
| Sanguine | Violent | Pain Totems cannot be destroyed. |
As you can see, they're basically just their Tier 1 counterparts but harder, and with better rewards.
Tier 3 Ritual Types
This tier includes three types of Rituals that have special effects. Let's take a look:
| NAME | NEGATIVE EFFECT | POSITIVE EFFECT |
| Haunted | Tormented Spirits haunt the Ritual | Rare monsters possessed by the Spirits, then killed, grant additional loot. |
| Vaal | Atziri's apparition protects the altar, casting her abilities. | Favors may cost less Tribute on average, and items dropped by slain monsters drop Corrupted. |
| Opulent | Contains cursed coin showers. | Monsters have greatly increased item rarity and quantity. All rewards are of the same type. Standing in cursed coin showers increase your damage taken but also your item rarity and quantity! |
Depth 4 - Exclusive Rewards
As with every league, Ritual comes with its own set of exclusive rewards. First up, there's five Uniques that can only drop / be bought from Rituals:
- Qotra's Regulator
- Hand of the Fervent
- Blackflame
- Survivor's Guilt
- Rotblood Promise
In addition, you may occasionally find some interesting items in Ritual! These items have base types that can only be found in Ritual and bought with Tribute. Their uniqueness comes from their implicit modifiers. Each of these exclusive base types has three versions, which can be found at different level ranges. You generally don't need to concern yourself with the lower two tiers, so we've compiled a list of only the versions of these base types you'll find in the endgame:
| HELMETS | GLOVES | BOOTS |
| Penitent Mask | Debilitation Gauntlets | Brimstone Treads |
| Archdemon Crown | Sinistral Gloves | Stormrider Boots |
| Blizzard Crown | Nexus Gloves | Dreamquest Slippers |
One recent change has also added Omens to the list of exclusive rewards you may find in Rituals! You can check out the full list of Omens here: Omens Cheat Sheet
Depth 5 - Ritual Vessels
At this point, having presumably done a few Rituals, you're probably wondering what those Ritual Splinters you keep finding as Favors are for. Once you get 100 Ritual Splinters, you can combine them into a Ritual Vessel!
This Ritual Vessel can be used to store monsters from a completed Ritual by right-clicking on the Ritual Altar. Then, it can be used in the map device much like a Scarab. This guarantees two things:
- You will guarantee a Ritual encounter in your map.
- The monsters inside the Ritual Vessel will spawn in every Ritual Altar encounter on the map, giving you bonus Tribute!
Running a map with four Ritual Vessels spent on it will guarantee both a very dangerous Ritual encounter and a huge amount of Tribute! If you're feeling particularly daring, it's worth noting that Ritual Vessels will also store Unique monsters, meaning that you could store, say, map bosses for even more danger and Tribute.
Keep in mind that you should only use Ritual Vessels on Ritual Altars you have successfully completed. The Ritual Vessel will only store monsters you actually killed.
Depth 6 - More Rituals & Ritual Scarabs
Looking to spend more time killing things in circles? There's a few ways to go about it:
- Using the Ritual map crafting option, which costs 4 Chaos Orbs, will guarantee a Ritual encounter on your map.
- Allocating certain passive nodes on the Atlas Passive Tree will increase and possibly even guarantee finding Rituals on every map. Here are allthe nodes that directly increase your chance of finding Rituals: LINK. With all of those allocated, your chance to find Rituals will be XXX%!
Ritual does not currently have a Scarab that guarantees it showing up on your map, but it does have a few others:
- Ritual Scarab of Selectiveness - Free extra rerolls! You can use up to 2 of these Scarabs per map!
- Ritual Scarab of Recognition - More Ritual money!
- Ritual Scarab of Abundance - More Favors! You can use up to 2 of these Scarabs per map!
But what's all this extra goodness if you can't abuse it to the fullest? Let's see how the Atlas Passive Tree can help out.
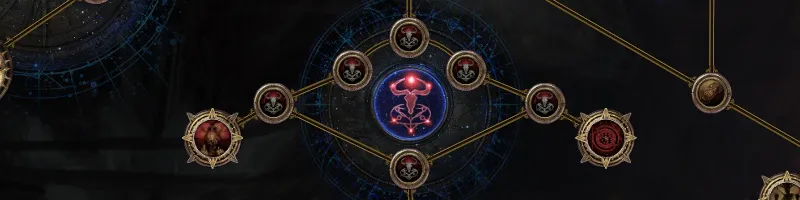
Depth 7 - Ritualistic Atlas Passive Tree
later
Other Considerations
There's a couple funny things that can happen when Rituals meet another league mechanic:
- If your map is affected by Delirium, you may find yourself suddenly fighting a Delirium boss mid-Ritual! You may want to use a Ritual Vessel right after, for fun reasons.
- Things can sometimes get pretty messy if one of the Rare monsters that spawn grants periodic invulnerability to its allies. Always be prepared!
About_Author

Nox is a senior editor at outof.games, with a 20-year history of playing video games. While you won't find him finally playing GTA V after having bought it many years ago, you may occasionally stumble upon one of his 3000-word essays on the front page.
More_Path of Exile_Guides

A Guide to MARVEL SNAP's Token Shop
Latest_Path of Exile_Guides

// join_the_conversation
Sign in to share your thoughts, vote on comments, and connect with the community.
Comments
// no_comments_found
Be the first to share your thoughts!
Leave a Comment