
Path of Exile
Path of Exile: Delirium League Mechanic Guide
Welcome to our Delirium league mechanic guide! Ever wondered why you'd purposefully choose to enter a realm of insanity that spawns hordes of monsters out of thin air? In this guide we'll do through all things Delirium: the Mirror, Delirium Orbs, bosses, Simulacrum and, of course, the pretty high variety of rewards you can farm. Delirium can be pretty dangerous for some builds, so make sure your defenses aren't paper-thin if you want to specialize in this content! We'll go through different ways to squeeze the most out of Delirium near the end of the guide.
Delirium is considered Extra Content, meaning there's a baseline non-zero chance for the Delirium Mirror to randomly show up in maps.
Our league mechanic guides are structured according to "Depth" - the deeper you go into the article, the more complex the mechanics get. If it all becomes too much, take a break from this guide, play with the league mechanic enough to master the fundamentals then come back and delve deeper!
Difficulty: Average to extremely dangerous.
Complexity: Low, for Path of Exile standards.
The icon that denotes Delirium content and rewards of the Delirium type.
- Delirium league launched in March 2020 and has been part of the core game since.
- During Delirium league, you would get a unique voice line from the Strange Voice NPC in every zone starting with The Torched Courts (Act 5), when you entered the Delirium Mirror.
Depth 1 - The Delirium Mirror
At the start of a map, you might stumble upon a Delirium Mirror. Upon walking through it, you will begin the Delirium encounter! Here's what you need to know:
- A grey mist spreads outwards from the Mirror throughout the whole map.
- This mist adds a new layer of difficulty to the map in the form of upgrading existing monsters, adding new monsters and spawning hazards on the ground.
- The further you go into the mist (so, the farther away you are from where the Mirror was), the more Delirious (stronger and dangerous) monsters become.
- You'll notice that every monster you kill is filling the reward bar at the bottom left of your screen. The more enemies you kill, the more loot of that type you'll get at the end of the Delirium encounter!
- The Delirium mist doesn't last forever. Speedy builds might make it to the end of the map with Delirium still active, but most times the mist will dissipate earlier.
- A few seconds after the encounter begins, the mist around the Mirror's location will start dissipating, extending outwards. To maximize your efforts, you'll want to keep pushing into the map to avoid having the encounter end.
- The additional monsters and hazards dissipate along with the mist.
You'll also notice the reward bar at the bottom left of your screen can fill up multiple times, for more loot! At level 3, it will also begin awarding a new type of loot. At level 5, yet another loot type will be added to the pool, and so on every 2 levels.
Before we talk about Delirium loot, let's take a look at the additional danger you'll be facing while Delirious.
Depth 2 - Delirium Hazards
As we previously stated, there's three additional layers of difficulty that are created when you're in a Delirium encounter:
- Monsters already in the map gain a new ability modifier. When they cast that ability, they are temporarily frozen (they look like they're splitting in half).
- New, Delirium-specific monsters spawn.
- Ground hazards, in the form of red pustules are formed. Stepping over them releases the pustules, who follow you for a short while before exploding.
It's important to note that the new abilities monsters in bullet point #1 get are also applied to many of the Delirium-specific monsters. You'll want to dodge all of those. You can check out the full list of modifiers here: Delirium Modifiers Cheat Sheet.
What's more, the ground is littered with more than just the red pustules. Be wary of stepping over certain types of 'grey misty structures', as some of them will spawn additional monsters. That's pretty good from a farming perspective, but you may be caught unaware by a couple Rare monsters hiding in them and get melted down pretty quickly! Refer to the video above to see how this works, and check out the image below to see the types of grey mist structures that spawn more monsters.
image of delirium eggs n stuff
Which of these will give you trouble will very much depend on your build. In addition, Delirium has two bosses, which do sometimes show up in Delirium encounters, but we'll talk about those in Depth 7!
Depth 3 - Delirium Timer
Something you may be wondering is how the hidden mist timer of Delirium encounters work. Thankfully, you don't have to skip all the Strongboxes, Legion Monoliths or Breaches you find along the way. The grey mist can be delayed or extended, depending on the content you find. The hidden mist timer will pause:
- During an Immortal Syndcate Research encounter.
- During an Incursion encounter.
- During a Legion Monolith encounter.
- During a Breach encounter.
- While close to the Blight bump in an active Blight encounter.
- While inside the Sacred Grove.
- While in an active Ritual Altar encounter.
The hidden mist timer will be extended when:
- Opening a Strongbox.
- Defeating an Essence monster.
- You capture a Red Beast.
- Defeating a group of Immortal Syndicate members.
- An Abyss crack starts moving to its next destination.
- You complete a Blight encounter.
- You defeat a Harbinger.
As you can see, the game doesn't want you to rush over every other league mechanic in the map. You'll have enough time to stop and complete any of the above encounters then continue zooming ahead.
what about expedition, ultimatum etc?
Depth 4 - Delirium Loot Basics
It's time to get into the loot! There's quite a few rewards you'll come across in Delirium content:
- Rewards from other leagues or specific item types, which will be randomly generated upon entering a Delirium Mirror.
- These can be: Miscellaneous, Weapons, Armor, Jewellery, Unique items, Skill gems, Currency, Stacked Decks, Labyrinth, Map fragments, Maps, Talismans, Essences, Breach, Harbinger, Abyss, Fossils, Scarabs, Incubators and Blight items.
- Delirium Orbs, which we'll talk about in the next section!
- Cluster Jewels, a special type of Jewel you can socket into your passive tree. We'll discuss this in Depth 6.
- Simulacrum Splinters, which open the way to the Simulacrum encounter. More on that in Depth 8!
Whenever you go through a Mirror and begin a Delirium encounter, you'll get a random assortment of potential rewards from that huge list above. In addition:
- The loot explosion at the end of the encounter can also contain Delirium Orbs, Cluster Jewels and Simulacrum Splinters.
- Delirium monsters you kill along the way may also occasionally drop Cluster Jewels or Simulacrum Splinters.
There's also a bunch of Unique Cluster Jewels that drop exclusively from Delirum bosses. We'll take a loot at those in Depths 7 & 8.
Depth 5 - Delirium Orbs & Delirious Maps
Delirium Orbs are exclusively found in Delirium content, but can also be gained through the Disdain and Dementophobia Divination Cards. Here's what they do:
- Delirium Orbs can only be applied to non-Unique Maps.
- When applied, they add a 20% Delirious modifier to the map, as well as its item reward type to the Delirium reward bar.
- You can mix and match up to 5 Delirium Orbs per map, for a total 100% Delirious effect.
Here's all the different types of Delirium Orbs you can find:
| Armoursmith's Delirium Orb | Abyssal Delirium Orb | Fine Delirium Orb | Kalguuran Delirium Orb | Thaumaturge's Delirium Orb |
| Blacksmith's Delirium Orb | Blighted Delirium Orb | Foreboding Delirium Orb | Obscured Delirium Orb | Singular Delirium Orb |
| Cartographer's Delirium Orb | Challenging Delirium Orb | Fragmented Delirium Orb | Skittering Delirium Orb | Whispering Delirium Orb |
| Diviner's Delirium Orb | Fossilized Delirium Orb | Jeweller's Delirium Orb | Timeless Delirium Orb |
When you apply Delirium Orbs to a map, here's what happens:
- The map becomes fully Delirious, meaning there's no Mirror, just the permanent grey mist. There's no need to speed through it anymore.
- Rewards drop each time the reward bar is filled, instead of only at the end.
- With each Delirium Orb (+20% Delirious), the monsters become harder and stronger. 100% Delirious monsters are extremely dangerous and tough.
- The more Delirious a map is, the higher the chance for a Delirium boss to spawn.
To further illustrate just how strong Delirious monsters get, but also how rewarding, here's a simplified table with a few stats:
| Delirious Percentage | Increased Damage | Less Damage Taken | Item Quantity | Item Rarity |
| 20% | 6% | 16-20% | +10% | +20% |
| 40% | 12% | 32-40% | +20% | +40% |
| 60% | 18% | 48-60% | +30% | +60% |
| 80% | 24% | 64-80% | +40% | +80% |
| 100% | 30% | 80-96% | +50% | +100% |
The variance in less damage taken depends on the rarity of the monsters. Unique monsters use the lowest value, while Normal monsters use the highest, with Magic and Rare somewhere in-between. Make sure you work your way up to 100% Delirious and see how much of a beating your build can take, to avoid wasting your Delirium Orbs.
Depth 6 - Cluster Jewels
Cluster Jewels come with a huge amount of different effects and are a great way for finding specialized passive upgrades in the endgame. At their most basic, they function as such:
- Cluster Jewels can be socketed in the Large Jewel sockets found at the edges of the Passive Tree.
- You'll notice the investment cost is the two small passive nodes that are before the socket, as well as the socket itself. The Cluster Jewel does nothing in its equipped socket.
- When you socket a Cluster Jewel, it creates a unique extension of the passive tree, with more passive nodes for you to allocate. That's what you're after.
- There are three major types of Cluster Jewels:
- Small Cluster Jewels, which can have one Notable (medium-size) passive node, for a total of 2-3, including small nodes.
- Medium Cluster Jewels, which can have two Notable passive nodes, for a total of 4-6, incuding small nodes. It also has a Small Jewel Socket in which you can socket a regular Jewel or a Small Cluster Jewel.
- Large Cluster Jewels, which can have three Notable passive nodes, for a total of 8-12, including small nodes. It also has two Medium Jewel Sockets, in which you can socket regular Jewels as well as Small or Medium Cluster Jewels.
transfer the bullet points below into the Cluster Jewel Guide and only mention that it's random, but the general rule for most is "the fewer, the better"
- You'll notice the variance in total number of passive nodes a Cluster Jewel can have. This is indeed random. For optimal pathing (not wasting extra passive points on small nodes), you have four options:
- Small Cluster Jewels with two total passive nodes.
- Medium Cluster Jewels with four or five passive nodes.
- Large Cluster Jewels with right passive nodes.
You'll also notice the Cluster Jewels "can have" Notable passive nodes. Cluster Jewels can be crafted, meaning you're not always guaranteed you'll get Notable passive nodes - arguably the stuff you're actually looking for - but you can work your way to getting them! Note that Cluster Jewels can also drop from other leagues' content, such as from Delirium reward chests in Heist.
For more information about how Cluster Jewels work, check out our short Cluster Jewel Guide! There's also a set of Unique Cluster Jewels, which we'll take a look at in the next section.
Cluster Jewels are a major component of several powerful builds.
Depth 7 - Delirium Bosses
Delirium has two bosses for us:
- Omniphobia, who can show up in any tier map and is the easier of the two.
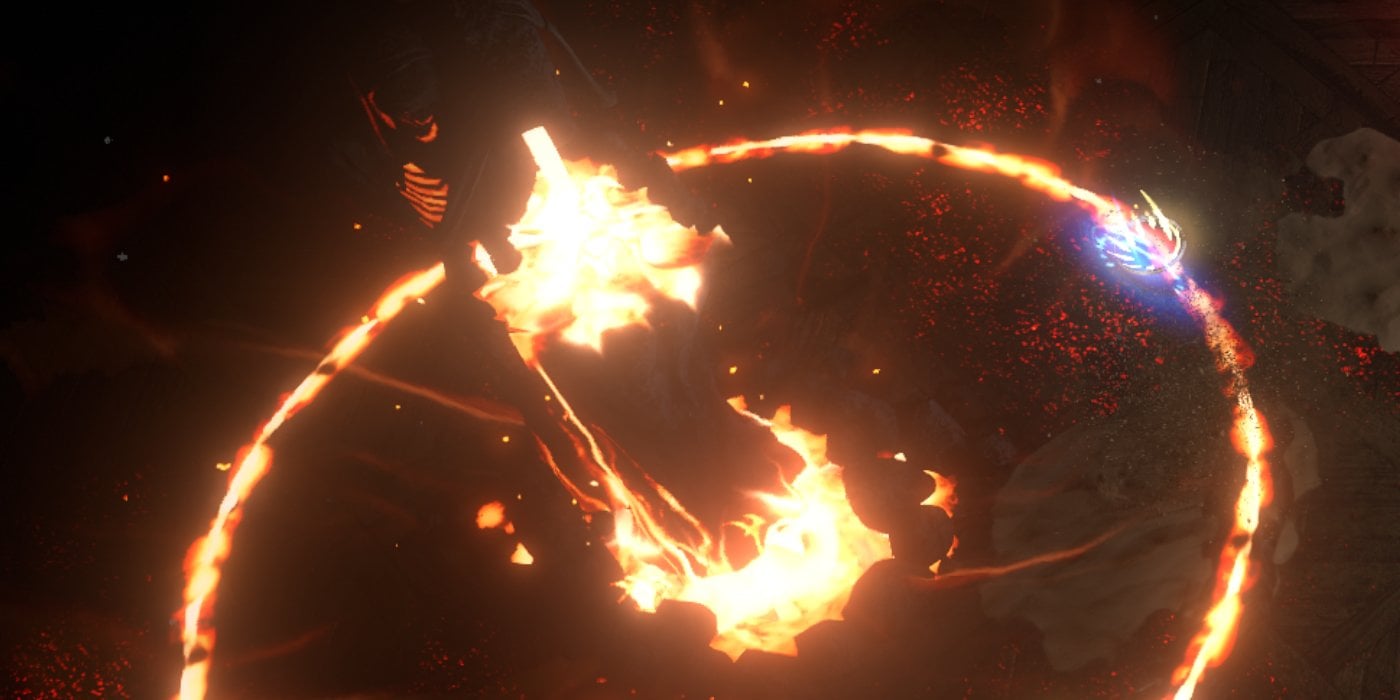
- Kosis, an absolute loose cannon and maniac, who can only spawn in Tier 11+ maps.
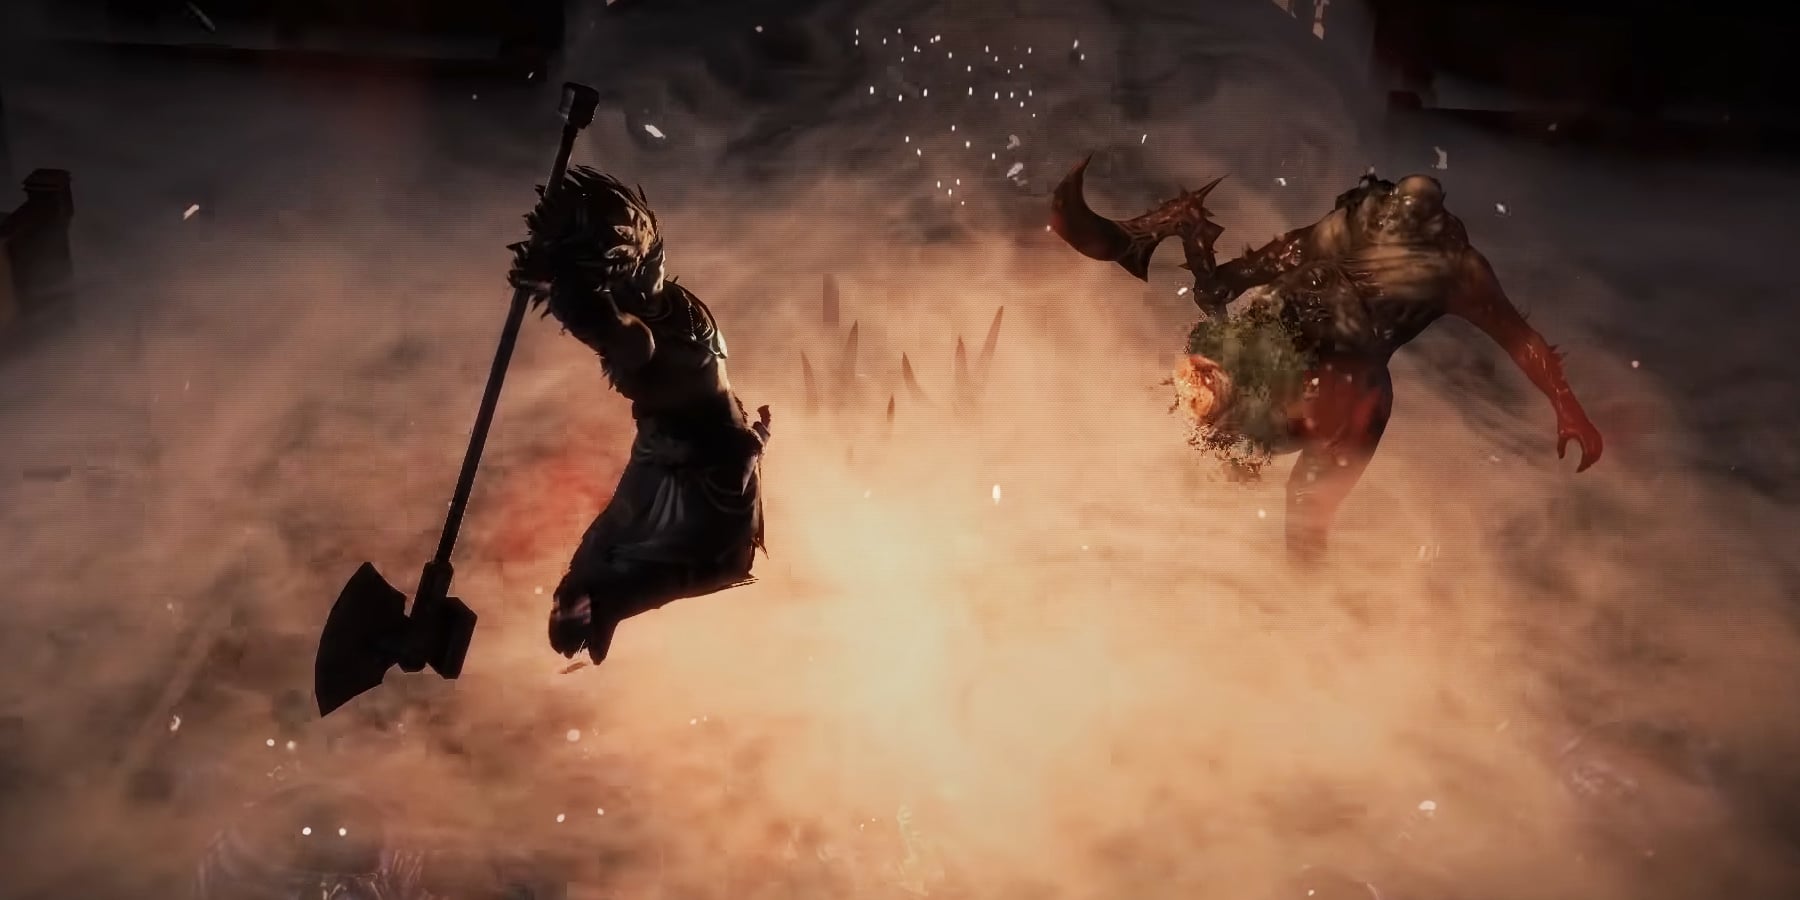
Here's Kosis on a 100% Delirious map. You do not want to mess with this thing.
You won't see them coming until they suddenly appear out of the mist and charge at you! They do, however, show up on the minimap with their own unique icons, so you'll be able to track them once you've met each other. Occasionally, you may find both in the same map. Open each of the boxes below to read about some of their abilities:
- Omniphobia has a pretty strong and fast melee attack. Occasionally, he will perform a wide cleave.
- He leaps toward players that stray too far. The leap has a base 9 second cooldown.
- Occasionally, he performs a series of three ground slams - avoid the third one!
- After performing the ground slams, he will rotate and send out a wave towards the player's location that inflicts Bleeding.
- This feels like it, but re-check.
- Kosis has a very large amount of Energy Shield, which does not get bypassed by Chaos damage.
- His melee attacks differ based on which hand he attacks with:
- His left hand / weapon deals 50% Physical, 50% Chaos damage.
- His right hand / weapon applies Corrupted Blood on hit.
- Fire Flurry: Kosis fires three Fireballs from his left hand that have a 50% chance to Ignite.
- Lightning Flurry: Kosis fires a zig-zagging beam of lightning from his right hand, directly in front, with a 50% chance to Shock. Avoid this.
- Teleport Attack: As if he wasn't enough of a menace, he teleports to players that are keeping their distance!
- As if being inescapable wasn't enough, whenever he teleports, he leaves a small black sphere at his previous location. This deals Physical and Cold damage, halves movement speed and on top of that, deals extra Physical and Lightning damage over time when you touch it.
- Fire Combo: Slashes wth both weapons before throwing them forward, dealing large AOE damage when they last. He then channels eight waves of three Fireballs. The central Fireball is always larger and always Ignites.
- Lightning Combo: Just like Fire Combo, except he then channels eight bolts of lightning that leaving Lightning Volatiles on the ground. Upon touching them, they explode, always Shocking you and applying 20% increased damage taken for 2 seconds.
- Demon Beam: Kosis gains 15% of his Life as Energy Shield and channels a big black beam of death at a location that grows into a giant black sphere over 10 seconds. Do not touch the black sphere.
- Fully depleting his Energy Shield will briefly stun him and end his channeling of Demon Beam prematurely.
- Demon Orb Detonation: Kosis will leap into the sky and land on top of a black sphere, detonating it. Up to 8 consecutive shockwaves will ripple outwards from where the black sphere was, dealing mega-damage.
- A larger black sphere will create more shockwaves.
- The shockwaves ignore walls and obstacles.
- The shockwave cause other black spheres to detonate and create shockwaves as well, if they touch.
- Dramatic re-enactment of Demon Orb Detonation.
When killed, they drop a random amount of Simulacrum Splinters. In addition, they have an approximate 7% chance to drop a unique Cluster Jewel (check those out in the table below), and very rarely, the much-coveted Divination Card, The Insane Cat.
| Calamitous Visions | Kitava's Teachings | Natural Affinity | One With Nothing |
| The Front Line | The Interrogation | The Siege |
There's three other Unique Cluster Jewels that only drop from these bosses in the Simulacrum, which we'll take a look at in the next section.

The minimap icons for Omniphobia and Kosis.
Depth 8 - The Simulacrum
Let's finally see what all those Simulacrum Splinters were for! When you collect 300 of them, they'll form into the Simulacrum, a key that when used in the map device, takes you to the endgame Delirium encounter. The Simulacrum isn't always the same place, however. You will randomly be sent to a Delirious version of one of the five town zones from the Campaign:
- Lunacy's Watch (Lioneye's Watch, Acts 1 & 6)
- The Bridge Enraptured (The Bridge Encampment, Act 7)
- The Syndrone Encampment (The Sarn Encampment, Act 8)
- Hysteriagate (Highgate, Acts 4 & 9)
- Oriath Delusion (Act 10)
Besides not knowing which one you'll end up in, these zones' layouts are also rather uneven and convoluted. This adds an additional layer of difficulty, as some movement skills don't work as well in cramped spaces.
The Simulacrum is a wave-based event, where things get more and more horrifying with each round. Here's how it goes:
- You can start a round by clicking on the Strange Voice NPC. There are a total 30 rounds, if you can make it that far.
- Before each round, you can see the rewards, as well as the modifiers you'll have to deal with in the hovering tooltip beside the NPC.
- Each round adds 5% Delirious effect to the monsters. Check the table in Depth 5 for an idea of how quickly things ramp up!
- Each wave will spawn Delirious monsters. The faster you kill them, the more they spawn, meaning you can fill your reward bar even further!
- You'll want to move across the entire area, quickly killing monsters, so more spawn.
- Omniphobia can start spawning with every wave from 10 onwards, and is guaranteed to spawn at 15 if he hasn't done so before.
- The same for Kosis, except the chance starts at wave 15, and is guaranteed at wave 20.
- From wave 21 onwards, they can spawn several times per wave.
Simulacrums are hard and require very well-rounded builds to complete. Waves 21-30 are exceedingly difficult, to the point builds will generally have to specialize exclusively in handling the difficulty and quirks of Delirium content. That said, there are three very valuable Unique Cluster Jewels you can find in the Simulacrum. They have a chance to drop at the end of waves where you've defeated at least one boss:
| Voices | Megalomaniac | Split Personality |
Depth 9 - More Delirium & Delirium Scarabs
If you want to do more Delirium content, there's a few extra ways to guarantee that:
- Using the Delirium map crafting option, which costs 7 Chaos Orbs, guarantees a Delirium Mirror in your map.
- The Delirium Scarab does the same!
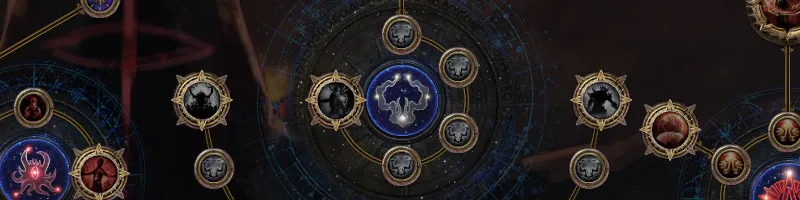
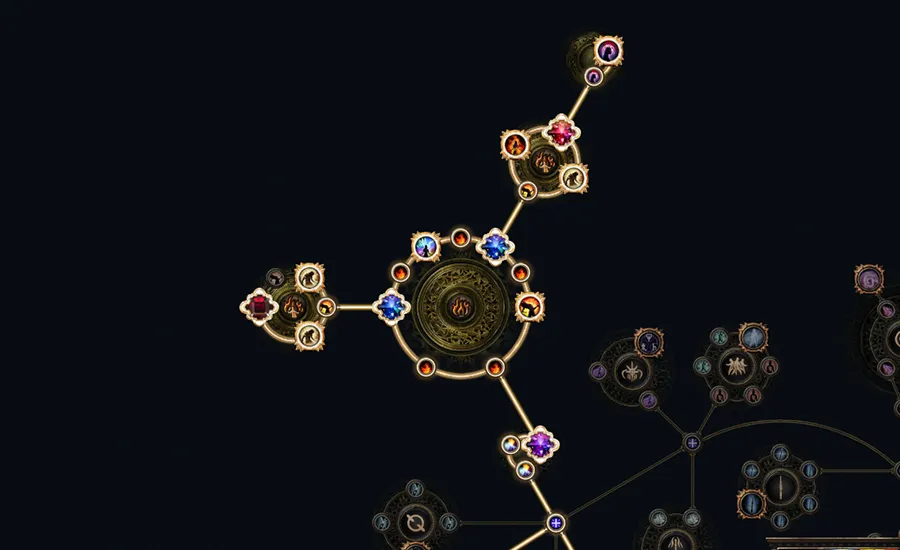
- Allocating certain passive nodes on the Atlas Passive Tree will increase the chance of Delirium Mirrors showing up in your maps, or eventually outright guarantee it. Here's a link to a Passive Tree that shows all the chance increase nodes: LINK
In addition, Delirium content benefits from 4 additional Scarabs you can use to squeeze more out of the league mechanic. Note that these can be applied to both regular maps that contain Delirium Mirrors, as well as Delirious Maps that are permanently Delirious. For the former, you'll still want to guarantee a Delirium Mirror in one of the above ways, lest you waste the Scarabs below. They do not guarantee a Delirium Mirror:
- Delirium Scarab of Mania - Double the profit for the same amount of work! You can use up to 2 of these per map!
- Delirium Scarab of Paranoia - Your Delirium reward bar starts off with two additional reward types! You can use up to 2 of these per map!
- Delirium Scarab of Neuroses - Guarantee you'll fight both Omniphobia and Kosis!
- Delirium Scarab of Delusions - Any maps that drop will have a random amount and variety of Delirium Orbs already applied to them!
Depth 10 - Delirious Atlas Passive Tree
not now
Other Considerations
yaya
About_Author

Nox is a senior editor at outof.games, with a 20-year history of playing video games. While you won't find him finally playing GTA V after having bought it many years ago, you may occasionally stumble upon one of his 3000-word essays on the front page.
More_Path of Exile_Guides

A Guide to MARVEL SNAP's Token Shop
Latest_Path of Exile_Guides

// join_the_conversation
Sign in to share your thoughts, vote on comments, and connect with the community.
Comments
// no_comments_found
Be the first to share your thoughts!
Leave a Comment