
Welcome to the Beyond league mechanic guide! Ever wonder what lies beyond the veil? Well, it's demons. Lots of them. Beyond is what you use when it feels like you're not killing at least a thousand monsters per map. It's probably the most pure endgame mechanic in the game in terms of adding 'value' to your map. In this guide we'll talk about how the mechanic works, how to get the most out of it, as well as look at some loot exclusive to Beyond content. Note that Beyond is generally seen as more of a "high endgame" mechanic used to further juice maps; it's in high-tier maps it'll really shine.
Beyond is not considered Extra Content and, as such, cannot be naturally encountered in maps; it must be purposefully added by the player.
Our league mechanic guides are structured according to "Depth" - the deeper you go into the article, the more complex the mechanics get. If it all becomes too much, take a break from this guide, play with the league mechanic enough to master the fundamentals then come back and delve deeper!
Difficulty: Average
Complexity: Very low, for Path of Exile standards.
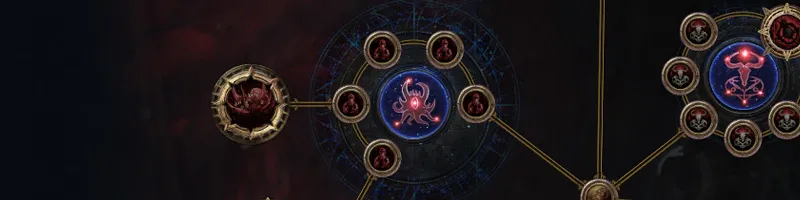
The icon that denotes Beyond content.
- Beyond League launched in August 2014 and has been part of the game since.
- The original Beyond demons were replaced with Scourge demons when the league was reworked.
- Before the rework, you could spawn several Beyond bosses per map, which is no longer the case.
Depth 1 - Encountering Beyond
So you want to make use of Beyond, either to simply juice your maps with more monsters, or perhaps get that coveted Tainted Currency which we'll discuss in Depth 4. You'll never randomly encounter Beyond, so you must seek it out. Here are the main ways to enable this mechanic in your maps:
- Using the Beyond map crafting option, which costs 5 Chaos Orbs.
- Using the Beyond Scarab, which has the same effect.
- Allocating a boatload of passive nodes on the Atlas Passive Tree that, together, will guarantee you'll get Beyond demons in every map. Here's a link to a tree setup that highlights all the relevant nodes, for a total of 108% chance to get Beyond demons: LINK. We'll discuss the rest of the Atlas Passives at the end of the guide!
Depth 2 - The Beyond Mechanic
Right, so we've gotten the Beyond mechanic to spawn in the map we just entered. You'll know a map has Beyond demons in it when this text shows up in your map mods drop-down in the top-right corner:
"Slaying Enemies close together can attract monsters from Beyond this realm."
Now let's lay down some basic concepts:
- When you kill a monster in this Beyondified map, it has a 15% chance for a small red orb to appear on the ground. If four of these spawn close to each other, meaning in roughly a "one screen" area, portals will open, and Beyond demons will come out.
- When you see the term Merging Radius, it refers to the maximum distance between red orbs that still allows them to coalesce into portals.
- Once you've rinsed and repeated this for a while, and a substantial number of Beyond demons have spawned in the map, each further pack you spawn increases the chance for the next pack you spawn to be replaced by a Beyond boss.
- Once a Beyond boss has spawned, Beyond portals or the red orbs will no longer spawn in the map and Beyond content in your map is done.
In essence, the more tightly packed monsters you kill, the more Beyond demons you get. This is a major reason why this mechanic is generally used in the later endgame, in Tier 14+ maps. That's when your build is strong enough to run more dangeous maps with increased Monster Pack Size. The bigger the pack size, the more red orbs and portals you get.
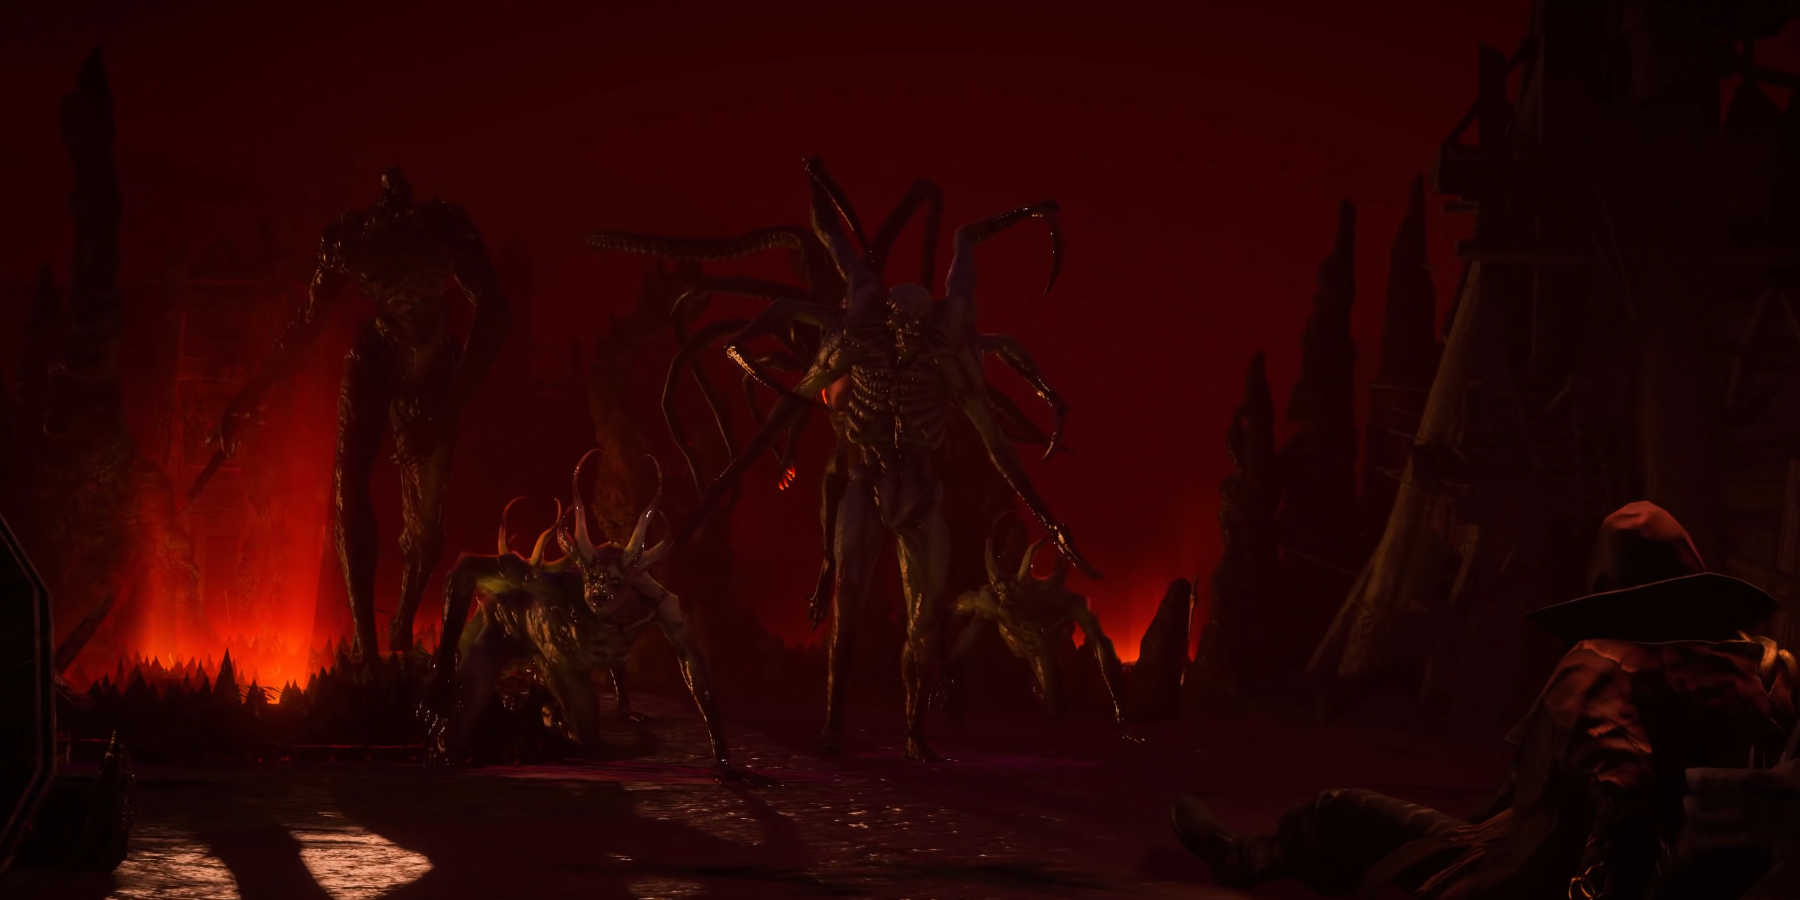
Depth 3 - The Three Demon Lords
Beyond bosses, also referred to as the three Demon Lords by Sister Divinia of Sanctum league, each come with their own little quirks. Let's set the ground rules for how they work:
- You can only spawn one Beyond boss per map.
- Each Beyond boss comes with its own unique set of minions. Once you're used to the mechanic, you'll know which boss you might face in any given map by seeing which Beyond monsters are spawning.
- K'tash, the Hate Shepherd is part of the Demonic Faction, whose monsters are thick fleshy spooky fellas.
- Ghorr, the Grasping Maw is part of the Flesh Faction, whose monsters are Delirium monsters, but red.
- Beidat, Archangel of Death is part of the Pale Faction, whose monsters are thin, fleshy anti-angels that have pincers for hands, feet and wings (like Andariel's back in Diablo II) and tend to pounce on you from afar.
- All three bosses have well-telegraphed attacks, so killing them shouldn't be much of an issue. Note that upon death, they'll take a few seconds for their death animation to play before they drop their loot.
Speaking of loot...

Each Beyond boss has a unique minimap icon.
Depth 4 - Tainted Currency
Tainted Currency is loot exclusive to the Beyond mechanic. They are messed-up variations of regular Currency that can only be used on Corrupted items, and some have rather... unpredictable side-effects. They occasionally drop from Beyond monsters, but a Beyond boss is guaranteed to drop multiple Tainted Currency. Let's see what they are, and what they do:
| CURRENCY | ADDITIONAL INFORMATION |
| Tainted Armorer's Scrap | Any value between 0-29% quality |
| Tainted Blacksmith's Whetstone | Any value between 0-29% quality |
| Tainted Jeweller's Orb | 50% chance to remove or add a socket |
| Tainted Orb of Fusing | 50% chance to remove or add a link |
| Tainted Chromatic Orb | Ignores item base type's socket color proclivity |
| Tainted Chaos Orb* | Bricks the item if it removes all modifiers |
| Tainted Exalted Orb | Either an Exalted Orb, or an Annulment Orb. Fun! |
| Tainted Mythic Orb** | Initial 50% chance to destroy the item, but generally more |
| Tainted Divine Teardrop | At least it doesn't destroy the item? |
*The only way to prevent bricking the item is to use the Tainted Chaos Orb on an item with at least two Fractured prefixes, or two Fractured suffixes, ensuring it retains its Rare quality.
**There's a few more caveats you should know about regarding Tainted Mythic Orbs:
- The Tainted Mythic Orb can only be used on Normal, Magic or Rare items whose base type has at least one Unique item that is in the core drop pool. It cannot be used on Synthesized items.
- Tainted Mythic Orbs will not create drop-restricted Uniques.
- If the transformation into a Unique item is successful, the new item will keep both the old item's quality and its implicit modifiers. It will also keep any Influences, though they will be purely cosmetic.
- Items with Searing Exarch / Eater of Worlds implicit modifiers will lose those when they're upgraded to Unique, causing base types that normally have an implicit to have none.
- If the pool of possible Unique items your item can transform into is composed of very rare Uniques, the chance for your item to be destroyed will increase past 50%.
Here's where it gets complicated. Open the box below at your own risk. You're generally better off just selling the Tainted Mythic Orb.
- Each Unique item has a "weight" based on its rarity tier. There are six tiers of Unique item rarity, with Tier 0 being the rarest.
- Each Tier of rarity has a weight value. The following numbers are estimates based on community research:
- Tier 0: 1.5
- Tier 1: ~27
- Tier 2: ~55
- Tier 3: ~315
- Tier 4: ~1600
- Tier 5: ~2000
- For example, Galesight is a Tier 2 Unique and has a weight value of ~55. Realmshaper is a Tier 5 Unique and has a weight value of ~2000.
How does this relate to the Tainted Mythic Orb? Buckle up, folks, more bullet points:
- The Tainted Mythic Orb will take all the possible Unique item outcomes your item could become, and adds up their weights.
- The Orb has a "destroy weight" value of 2000.
- If the weight sum of possible Unique item outcomes is higher than 2000, the chance to destroy your item remains at 50%.
- If the weight sum is lower than 2000, then the chance to destroy your items increases past 50%, based on the formula: 2000 - [weight sum] = extra destruction chance.
For a more mathematical, albeit not necessarily clearer, explanation, check out the examples in the PoEWiki page on the Tainted Mythic Orb.
Depth 5 - More Beyond & Beyond Scarabs
We've already talked about the Beyond Scarab in Depth 1, but there's a few more to look at! Bear in mind these Scarabs don't guarantee the Beyond mechanic in your map; you'll still have to use one of the options we outlined in the first section to ensure your Scarabs don't go to waste. Now, let's see:
- Beyond Scarab of Haemophilia - Merging Radius makes it easier for the red orbs to coalesce into a portal when they're further away from each other. You can use up to 2 of these per map!
- Beyond Scarab of Resurgence - The boss is stronger, angrier and holds more loot; what more could you want?
- Beyond Scarab of Corruption - If you're looking for Corrupted items with some cool implicits, pick this one!
- Beyond Scarab of the Invasion - Combine this with some Rogue Exiles and you'll have a lot more demons to contend with!
Now, where else might you encounter Beyond demons, you ask? Turns out, in very few other places:
- Certain nodes in the Azurite Mine (Delve) may contain Beyond encounters.
- Niko's Memory of Chasms (Memory Guide) is a fun little mix of Beyond and Abyss:
- Abyssses are already fully opened. Approaching the cracks / fissures will start spawning Beyond monsters.
- The Beyond monsters drop Abyss Jewels instead of Tainted Currency, and they have an increasing chance (with each map) to drop Corrupted and have 5 or 6 total modifiers.
- The Beyond faction that spawns is the same across all four maps. The fourth map is guaranteed to contain a Beyond boss.
- Note that in this Memory, Beyond monsters come from the Abyss, so the portal mechanic we discussed is not present.
Depth 6 - Beyond Atlas Passive Tree
later
Other Considerations
later
About_Author

Nox is a senior editor at outof.games, with a 20-year history of playing video games. While you won't find him finally playing GTA V after having bought it many years ago, you may occasionally stumble upon one of his 3000-word essays on the front page.
More_Path of Exile_Guides

A Guide to MARVEL SNAP's Token Shop
Latest_Path of Exile_Guides

// join_the_conversation
Sign in to share your thoughts, vote on comments, and connect with the community.
Comments
// no_comments_found
Be the first to share your thoughts!
Leave a Comment