
Path of Exile
Path of Exile: Ultimatum League Mechanic Guide
Welcome to the Ultimatum league mechanic guide! Here we'll take you through all the gameplay surrounding Ultimatum, from the in-map encounters, to the Trialmaster boss fight as well as Inscribed Ultimatums. The system overall is fairly straightforward, but it's definitely one of the more polarizing mechanics of Path of Exile - not all builds are suited for high-level Ultimatums.
Ultimatum is considered Extra Content and has a baseline 8% chance to randomly appear in maps.
Our league mechanic guides are structured according to "Depth" - the deeper you go into the article, the more complex the mechanics get. If it all becomes too much, take a break from this guide, play with the league mechanic enough to master the fundamentals then come back and delve deeper!
Difficulty: Average, but very hard for some builds.
Complexity: Low, for Path of Exile standards.
The icon that denotes Ultimatum content and rewards of the Ultimatum type.
- Ultimatum league initially launched in April 2021 and did not immediately go core.
- The Trialmaster boss fight was added back to the game in August 2022, with the rest of Ultimatum returning in December 2023.
- Upon Ultimarum's full return, Metamorph league was removed from the core game. Catalyst rewards were moved to Ultimatum.
Depth 1 - The Typical Ultimatum
In your journeys, you may stumble upon the Trialmaster, next to his trusty altar. He offers you a reward, for which your must complete an objective, but not before you choose a negative modifier that affects either you, the monsters you will face, or both. Succeed, and you have a choice: Take the reward, or play another round for another reward, while having to deal with a new negative modifier of your choice. This loop can keep repeating all the way up to round 10. The caveat? If you lose a round, you get none of the rewards you've piled up! Let's sum this up more clearly:
- An Ultimatum is composed of rounds. It can go all the way up to 10 rounds.
- Each Ultimatum (not each round) has a specific objective, out of four possible types. We'll discuss these in the next section.
- Each round the Trialmaster offers you a reward, but also a negative modifier. We'll discuss negative modifiers in Depth 3.
- When you complete any round, you can choose to take all the rewards you've earned so far and leave, or risk it all to add next round's reward to your "reward bundle". Doing this will force you to select another negative modifier.
- In-between rounds, time is frozen, so you have ample opportunity to decide if you want to go further or leave with the spoils of your effort.
- If you lose any round, you get zilch!
Rounds are most commonly lost by dying or exiting the circle (the Ultimatum Arena) for too long. One objective has an additional fail condition, which we'll discuss in the next section.
That's the typical gameplay loop you'll engage with in maps where you find Ultimatums.
Depth 2 - Ultimatum Objectives
Ultimatums come in four flavors, depending on their objective type. You know you're succeeding in completing an objective when the progress bar that's visible mid-round fills up. These objectives are:
- Defeat waves of enemies - Kill enemies to fill up the progress bar.
- Survive - Don't die until the timer runs out, meaning until the progress bar fills up automatically. Monsters will enrage if they're left alive for too long.
- Stand in the Stone Circles - Stand in each stone circle for a duration until they light up and disappear. Really, just look for the smaller red circles, which are also visible on the minimap, and hang in them until they disappear. You don't have to activate a circle in one sitting - if things are getting too dangerous, run to a different circle and come back later!
- Protect the Altar - Kill enemies to fill up the progress bar, but don't let the altar in the center be destroyed! The altar recovers part of its life between rounds.
The Protect the Altar objective has a couple important differences compared to its most similar counterpart, Defeat waves of enemies:
- If the altar reaches 0 health, you lose the round, and the entire Ultimatum, along with your rewards.
- The altar will attract the attention of many monsters, that will focus on it rather than you, so you may be slightly safer occasionally! Some monsters will still prefer to attack you.
Which objectives you excel at will ultimately depend on your build - tankier builds will have an easier time during Survive, while higher-damage builds will fare better in Protect the Altar.
Depth 3 - Ultimatum Modifiers
As you would expect, when the stakes get higher further into your Ultimatum encounter, the monsters will get stronger too. What's more, each round you'll choose an additional modifier to make your journey to round 10 even more perilous! Some modifiers might add a cloud of Chaos Damage over Time, others may make all monsters deal Critical Strikes. What's important here is having a good understanding of your own build's weaknesses and knowing which modifiers to avoid. Some are genuinely build-breaking. Check the table below for a full list of all modifiers.
table
One modifier every build should watch out for is Stalking Ruin. Stalking Ruin will spawn an invulnerable blue ghost that follows you around, applying the Ruin debuff when it hits you. When your Ruin debuff reaches 7 stacks, you automatically lose the Ultimatum! Stalking Ruin comes in four ranks, which we feel are important to list in their entirety here:
- Stalking Ruin I - An invulnerable shade stalks you, inflicting Ruin with its Melee Attacks. Fail on reaching 7 Ruin.
- Stalking Ruin II - An invulnerable shade stalks you, gaining speed and inflicting Ruin with Melee Attaacks and spells. Fail on reaching 7 Ruin.
- Stalking Ruin III - An invulnerable shade stalks you, gaining further speed and inflicting Ruin with its Melee attacks and powerful spells. Fail on reaching 7 Ruin.
- Stalking Ruin IV - An invulnerable shade stalks you, aggressively casting spells that inflict Ruin while teleporting to random locations. Fail on reaching 7 Ruin.
Picking this modifier adds a new layer of having to zoom around the arena, dodging the shade's attacks. There will be occasions where you'll essentially be forced to pick it. Ranks 1 & 2 are fairly manageable, but be extra careful if you end up picking ranks 3 & 4! Also be very careful with the Raging Dead modifiers, as they deal disproportionately more damage than other elemental mods.
Depth 4 - Ultimatum Loot
Ultimatum offers a plethora of loot such as Corrupted items and maps, Divination Cards and currency. It also has three types of rewards exclusive to Ultimatum encounters:
- Catalysts, the bread and butter of Ultimatum rewards. They are always offered as rewards on rounds 4 and 8.
- Inscribed Ultimatums, endgame Ultimatum encounters you access by placing the Inscribed Ultimatum in the map device. They only appear in rounds 8+, or rarely drop in a map that contains an Ultimarum encounter. We'll talk about these in Depth 6.
- Three Uniques can be exclusively obtained randomly as round rewards: Temptation Step, Gamblesprint and Relic of the Pact.
Catalysts are items that increase the quality of certain modifiers on your jewellery (rings, amulet, belt) and come in several different flavors. Here's a table with all of them:
table
Most Catalysts can also be found in other league content such as Heist, Expedition, Betrayal or Legion.
Note that the Tainted Catalyst can only be obtained from the Trialmaster himself! Speaking of this league's boss...
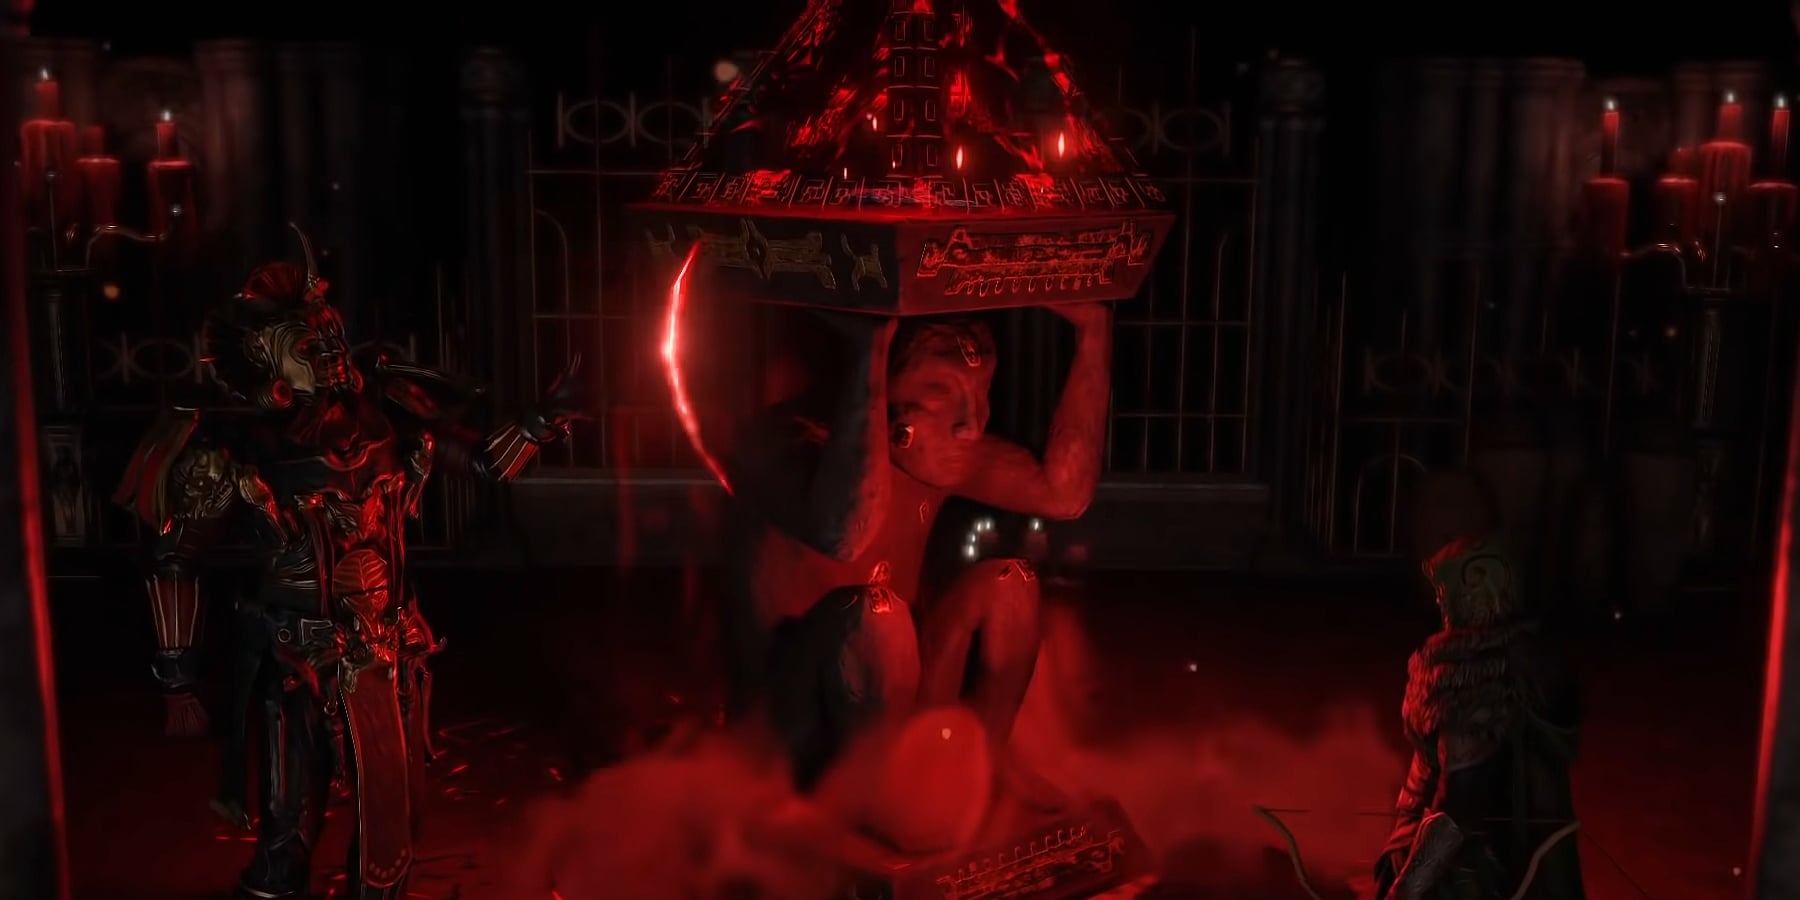
Depth 5 - The Trialmaster
The Trialmaster, your unhinged companion throughout your Ultimatum encounters, sometimes gets angry enough to fight you directly! When reaching round 10 in Ultimatums found in Tier 14+ maps, there is a 3% chance that, instead of a regular round, you're teleported to the Trialmaster's arena to fight the man himself. His arena is a fairly small circle, and some of the modifiers you've activated in previous rounds will still be in effect here. Modifiers that create hazards around the Ultimatum arena will instead affect only the center of the Trialmaster's arena. What's more, this isn't your run-of-the-mill six-portal boss encounter. Just like a regular Ultimatum round, if you die or reach 7 Ruin, it's over!
We've prepared a video below with the encounter, but in terms of his attacks, there's a few important ones to keep in mind:
- When the Trialmaster shouts "Be still", he places his heart in the arena and links it to you via a chain. Moving too far away from the hard will deal physical damage and Stun you for quite a while.
- When the Trialmaster shouts "Ultimatum", he freezes time, teleports around the arena and slams the ground thrice, before unfreezing time. Remember where he slammed, because waves of red Sunders will erupt and move towards you! Use a movement skill to dodge out of their trajectories.
video
We've already mentioned the Trialmaster is the only source of Tainted Catalysts, but he also drops one of five Unique items! Let's have a look:
Ixchel's Temptation, Glimpse of Chaos, Yaomac's Accord, Mahuxotl's Machination, Hateforge
If you get Hateforge, you may want to see how much it's selling for...
Depth 6 - Inscribed Ultimatums
Inscribed Ultimatums are bigger, badder Ultimatums. You'll notice they don't just give you a reward - something must first be sacrificed, and if you fail the Inscribed Ultimatum, you'll get absolutely nothing in return! There are four types of Inscribed Ultimatums, depending on the type of "transaction" they require:
- Sacrifice a Unique item for another Unique item
- Double a stack of currency
- Double a half stack of Divination Cards
- Mirror a Rare item
The specific items it asks for in the first three types is mostly random. It could ask you to sacrifice a Wurm's Molt for an Innsbury Edge, or double a stack of Orbs of Fusing. Only the fourth type, "Mirror a rare item" lets you choose the item you get as a reward - in this case, a copy of the item you put into the box.
Inscribed Ultimatums take place in the Utzaal Arena, a much larger area than the circle you're used to. This map is not on the Atlas, so your Atlas Passive Tree will have no effect on it. This means some passive nodes that make the encounters easier will not work here, but we'll get into that in Depth 8!
You'll notice when hovering over Inscribed Ultimatums that they're very familiar to regular Ultimatum encounters. The key differences are:
- Inscribed Ultimatums only have a single, much longer round.
- They share the same possible objectives, but they take longer to complete. For example, you'll have to stay in way more than the maximum of 5 stone circles you'll find in regular Ultimatums.
- Inscribed Ultimatums come with a preset of negative modifiers that you can't change. At this point, you should know which modifiers will brick your build and figure out if a certain Inscribed Ultimatum can be beaten.
Depth 7 - More Ultimatums & Ultimatum Scarabs
Want more visits from your begrudging friend, the Trialmaster? There's a few good ways to increase or outright guarantee Ultimatums in your maps:
- Using the Ultimatum map crafting option, which costs 5 Chaos Orbs and guarantees an Ultimatum on your map.
- Using the Ultimatum Scarab, which does the same thing!
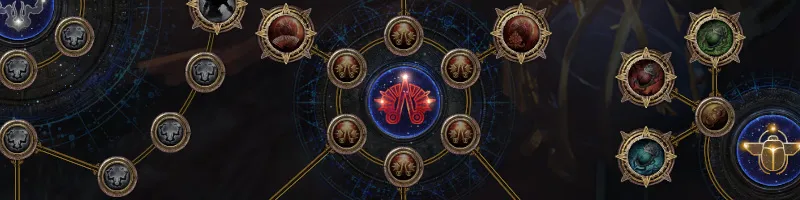
- Allocating certain passive nodes on the Atlas Passive Tree that increase the chance of Ultimatum encounters showing up in your maps or eventually outright guarantee it. Here are all the nodes that directly increase your chance of finding Ultimatums: LINK. With all of those allocated, your chance to find Ultimatums will be XXX%!
In addition to the Ultimatum Scarab, there's four other higher-rarity Scarabs that increase or modify the rewards you get from Ultimatum encounters in maps:
- Ultimatum Scarab of Bribing - Remember how you're guaranteed Catalysts in rounds 4 and 8? With this Scarab, you'll get them at rounds 2 and 6! You can use 2 of these per map!
- Ultimatum Scarab of Dueling - With this, you're guaranteed to fight the Trialmaster if you reach round 10!
- Ultimatum Scarab of Catalysing - Need Catalysts? Look no further!
- Ultimatum Scarab of Inscription - Searching for a specific Inscribed Ultimatum? This one guarantees you get offered at least 2 as a reward for rounds 4 and 8!
Note that you can mix and match these Scarabs as you wish. Combining the Catalysing and Inscription Scarabs, for example, will net you a whopping 10 Inscribed Ultimatums if you make it through all 10 rounds!
Depth 8 - Atlas Effects
for later.
Other Considerations
About_Author

Nox is a senior editor at outof.games, with a 20-year history of playing video games. While you won't find him finally playing GTA V after having bought it many years ago, you may occasionally stumble upon one of his 3000-word essays on the front page.
More_Path of Exile_Guides


Leave a Comment