

This task is still bugged for me - anyone else? I can't get into the Mi'da bounty at all, heroic or normal. I have loaded the newest patches, deleted my mercs teams, all the usual suspects, etc.
Hearthstone
How to Complete N'Zoth Mercenaries Event Task 3 "One With the Void" - Tips & Parties Inside
Updated 4 years, 2 months ago
by
Avalon
Struggling to complete some tasks of the Mercenaries N'Zoth limited-time event? We've got your back. Here's a guide explaining what you should do and the best comps to get there in the third Task, One With the Void.
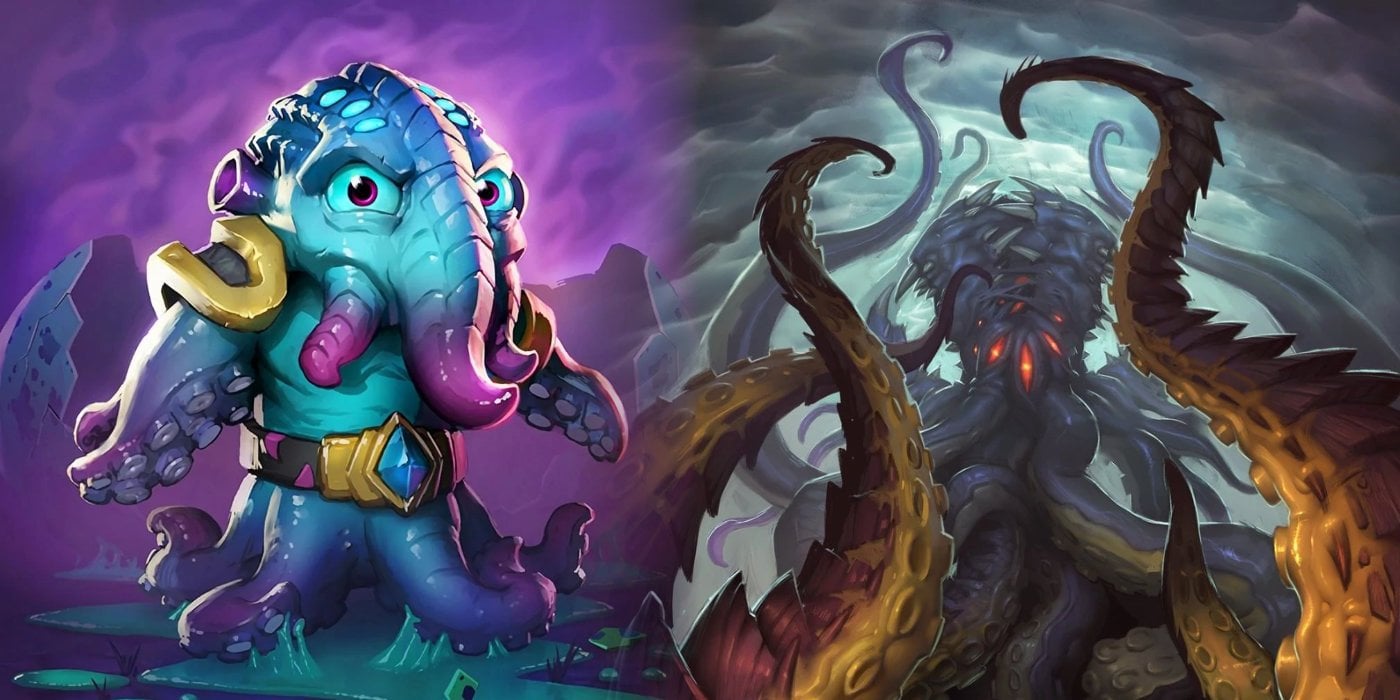
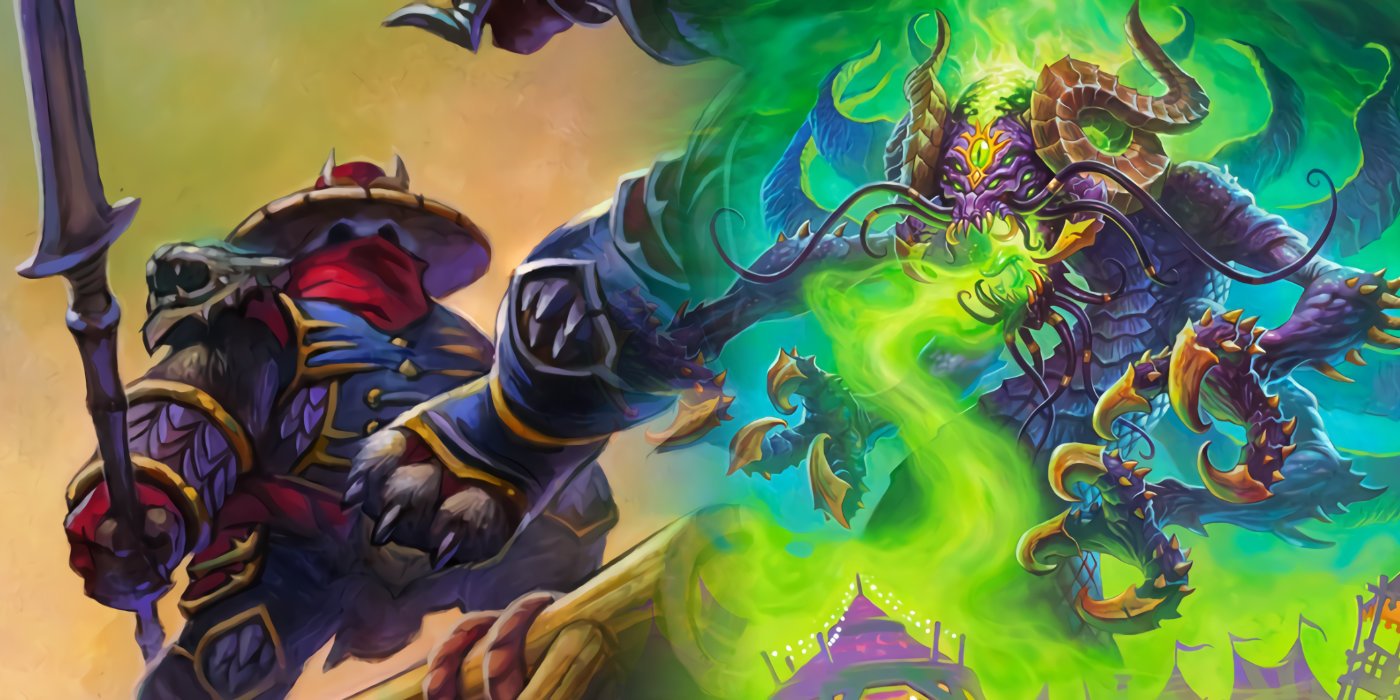
We've got a brand new event in Hearthstone's Mercenaries game mode and it's here only for a limited-time! This time, we'll venture into many dangerous Bounty zones with the aid of N'Zoth, (in)famous Old God that already made its appearance in Hearthstone in Whispers of the Old Gods with N'Zoth, the Corruptor.
Our journey won't be in search of just fame and success, but you'll be able to complete a set of 10 event Tasks, which will reward you coins for N'Zoth and many other goodies.
Here are all the tasks that are available during the N'Zoth Mercenaries event. Click any of the links below to visit our guide for the task.
- Raiding the Shore
- Ice Sculpting
- Requirement: Complete Icehowl Bounty without any Blocks of Ice on the board in Winterspring.
- Reward: N'Zoth Mercenary.
- One with the Void
- Bunker Crashers
- Requirement: Complete Galvangar Bounty using 6 of Human, Dwarf and Elf characters in Alterac Valley.
- Reward: 50 N'Zoth coins, 25 Balinda Stonehearth Coins.
- Murlocs in the Valley
- Bones and Golems
- Damage Supreme
- Requirement: Deal 100 damage with N'zoth's Corrupted Viscera in a single battle.
- Reward: N'Zoth Golden Portrait
- Emperor Dethroned
- Requirement: Complete Emperor Thaurissan Bounty without setting off powdered kegs.
- Reward: 75 N'Zoth coins, 50 Balinda Stonehearth coins.
- Murlocs on Ice
- Requirement: Complete Heroic Popsicooler Bounty with at least 3 Murlocs in Alterac Valley.
- Reward: 75 N'Zoth coins, 50 Murky coins, 50 random coins.
- Visions of Conquest
- Requirement: Land a killing blow with N'zoth's Spawn of N'zoth against Gigafin or Gigafin's Maw in Corrupted Murlocs Bounty in Darkshore.
- Reward: Diamond N'Zoth portrait.
As you can see, these tasks are quite the mixed bag: while some are fairly simple to complete, others require more than a bit of thinking (and luck: that one's always welcome) and planning ahead.
Moreover, certain tasks clearly state that you need Comps consisting of Mercenaries belonging to specific races in order for your progresses to count: while the Leeroy Jenkins event was about Orcs, Humans and Dragons, this time you'll need the help of Humans, Dwarves, Elves, and... Murlocs!
Not all challenges might be as difficult as they seem at a glance: there are usually tips and tricks to be found to make everyone's lives easier. In this series of guides we'll take a look at how to complete each event Task, so that you'll be able to get your hands on all the rewards available. As of now, we'll focus our attention on the current task.
In case you missed them, if you click the banner below you'll have access to each of our task guides for this event.

How to Complete the "One With the Void" Task from the N'Zoth Event
- Requirement: Complete Mi'da Bounty without using any Holy abilities in Onyxia's Lair.
- Rewards: 50 N'Zoth coins, 25 Nefarian Coins.
- Difficulty: 3/5
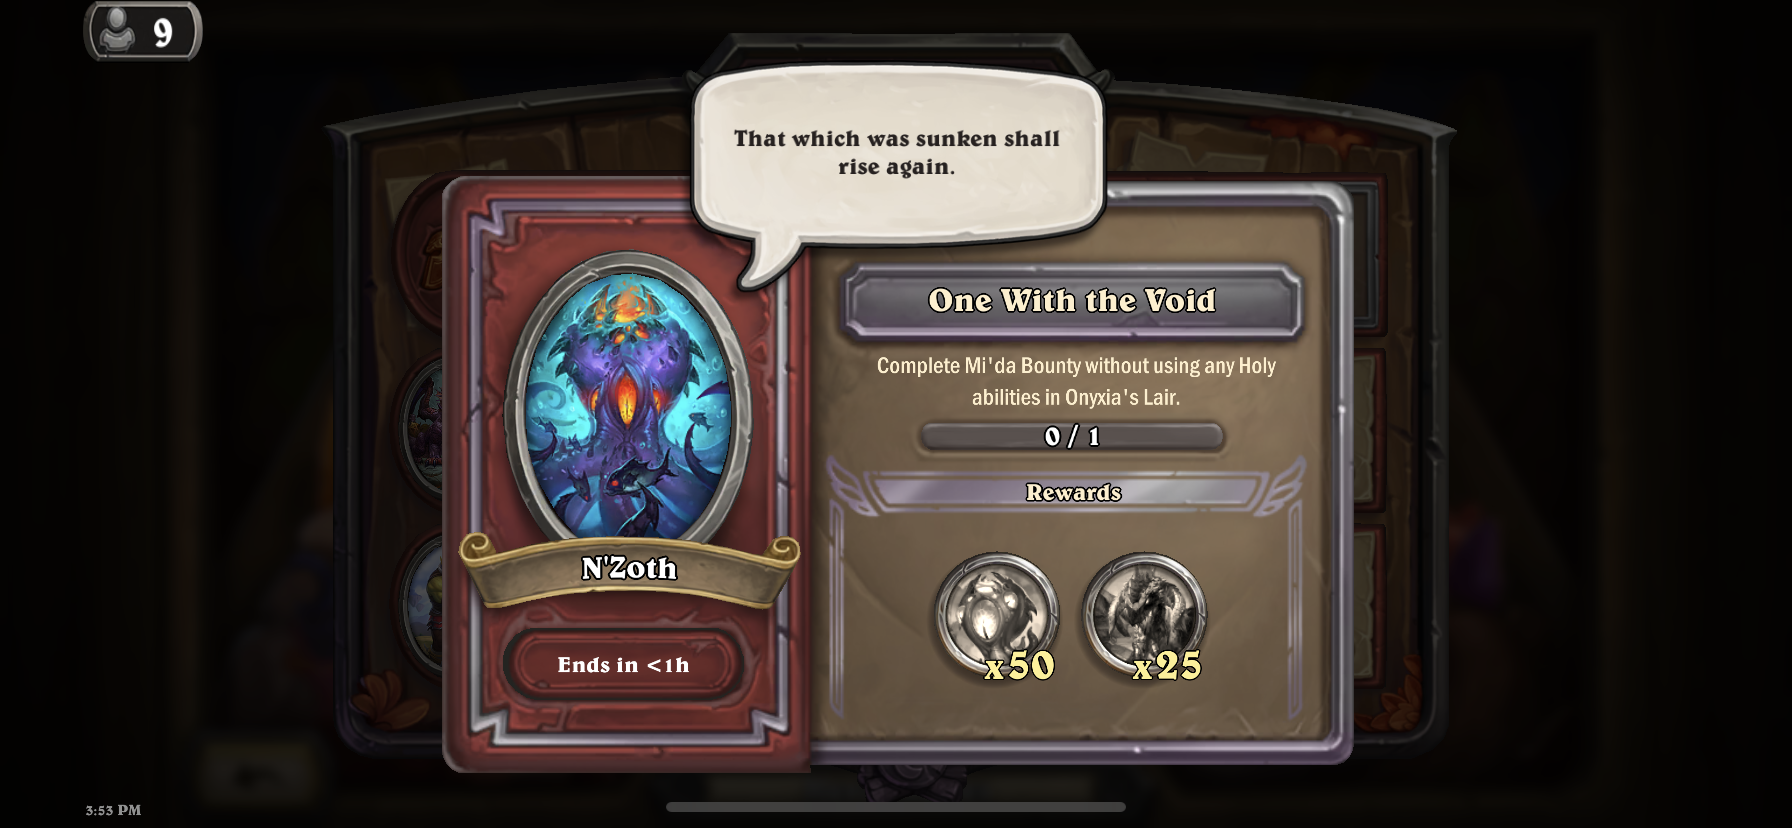
One With the Void is the first challenging task for the N'Zoth event: as you may remember, the Mi'da Pure Void bounty is not particularly difficult, but you're forced to use healing effects in order to take down the final boss. Therefore, you'll understand that being forced to not use any Holy abilities can be quite limiting, with very few other strategies available. However, there are still some viable strategies, as we'll see in a bit.
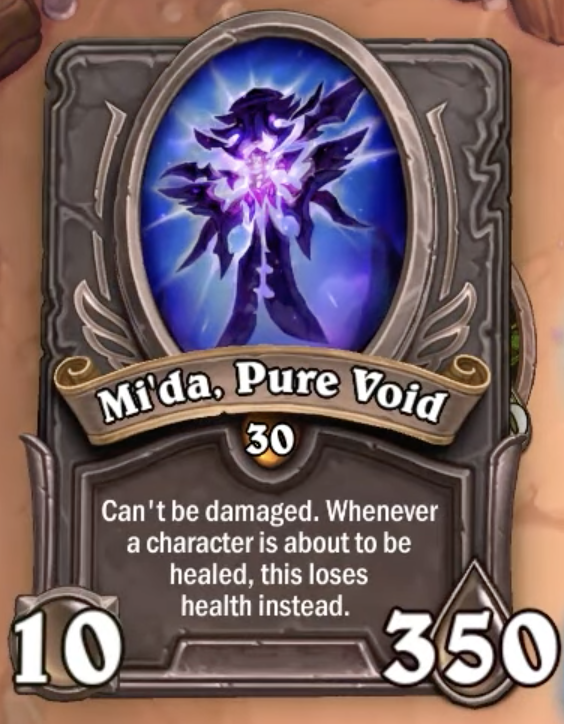
Mi'da, Pure Void will appear on the battlefield as a Neutral 10/350, supported by two 20/60 Void Shades, resulting in a mostly Fighter encounter for your Mercenaries. Each of these three units has an aura ability.
- Mi'da, Pure Void - Can't be damaged. Whenever a character is about to be healed, this loses Health instead.
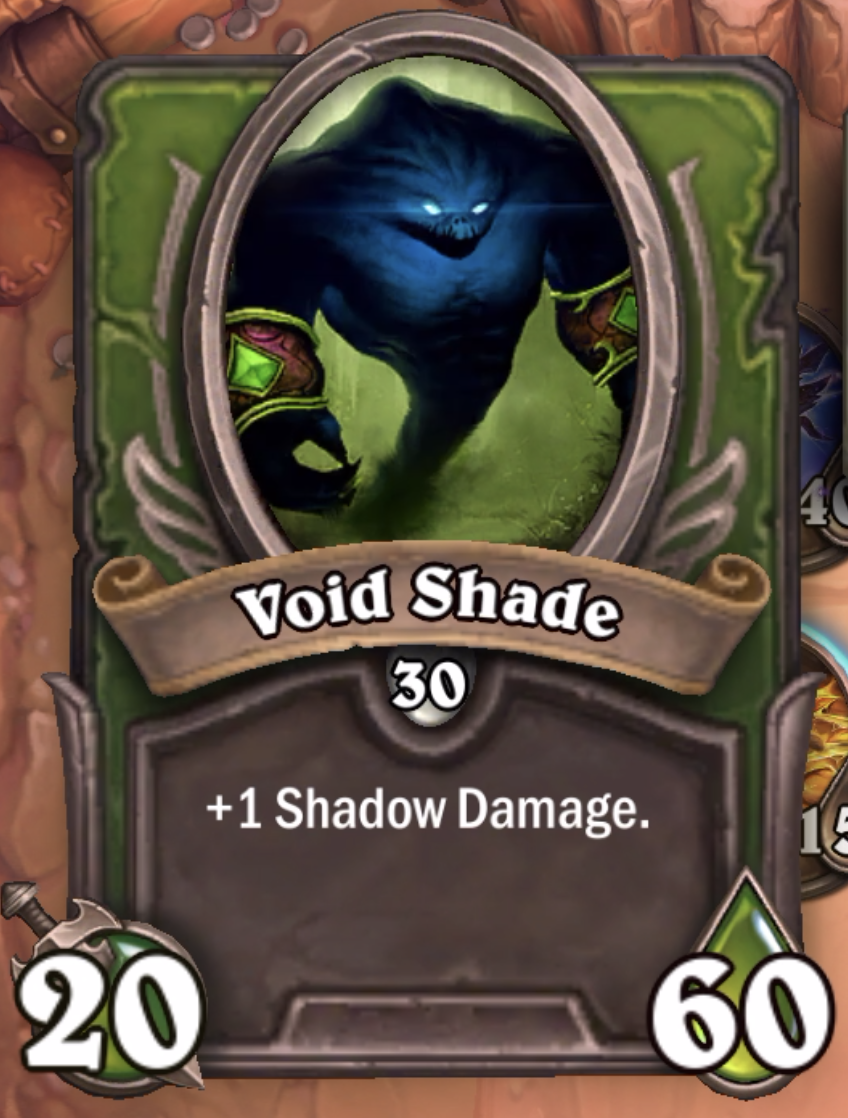
- Void Shade - Shadow Damage +1.
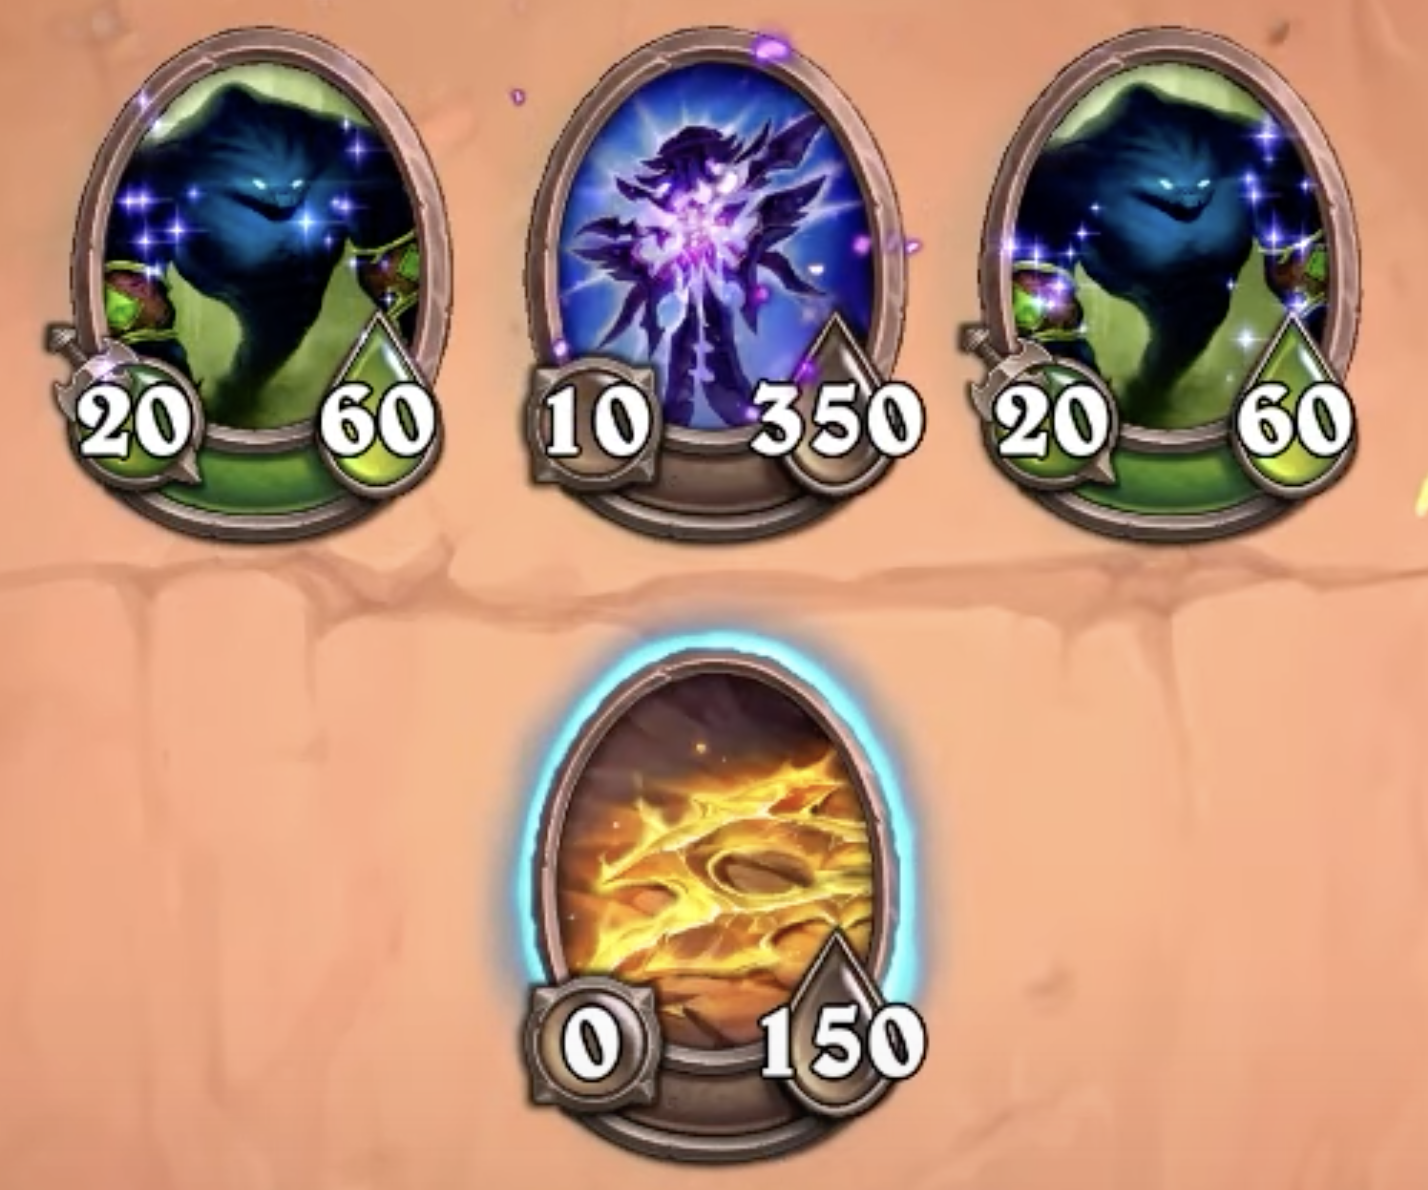
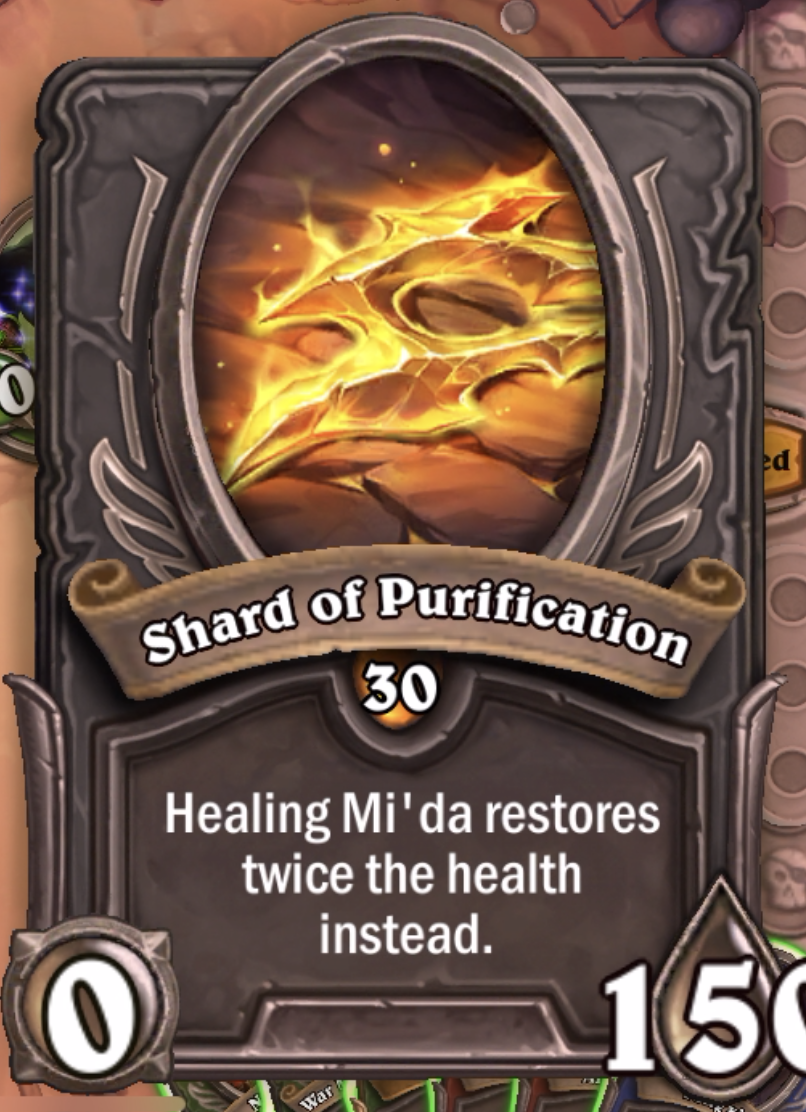
On your side of the board, you'll find a 0/150 Shard of Purification, with a moveset consisting on 3 Healing-related abilities and with a rather useful passive effect, but we'll get to it a bit later. For now, let's focus on the enemies.
Mi'da, Pure Void
Mi'da represents quite the peculiar boss, as you won't be able to take it down in the usual way, namely through either physical or special damage. In fact, Mi'da, Pure Void sets an unprecedented requirement: if you want to complete its bounty, you'll have to heal it to death.
Mi'da will absorb any form of healing across the board, doesn't matter where it comes from and where it's directed, turning it into self-damage. Based on the circumstances, this mechanism can become both an upside and a downside to your fight:
- Upside - You can turn mass healing effects like Malfurion Stormrage's [Hearthstone Card (liferoot staff 4) Not Found] into damage burst.
- Downside - Your Mercenaries will be less resilient, as you won't have many ways to ensure they'll stay healthy throughout the fight.
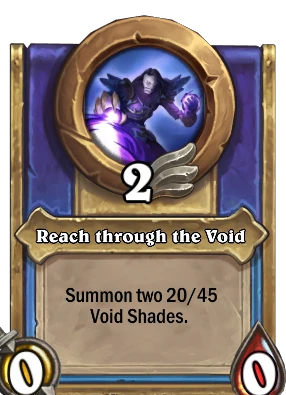

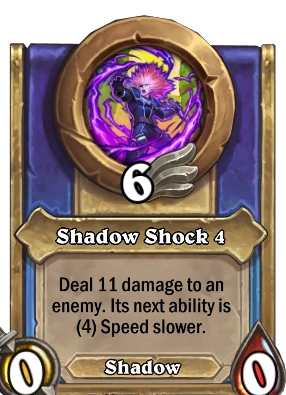
Mi'da, Pure Void's moveset.
As for Mi'da's moveset, it's basically a Vol'jin with a couple more tricks up its sleeve. Reach through the Void is quick and generates a ton of stats (40/90) each time, but the generated Shades are relatively easy to deal with.
Even though none of the enemy units' text states so, once you'll be able to take down Mi'da, Pure Void, any Void Shade on the board will perish with it - kind of neat, although we would've liked to know it from the very start!
Void Shades
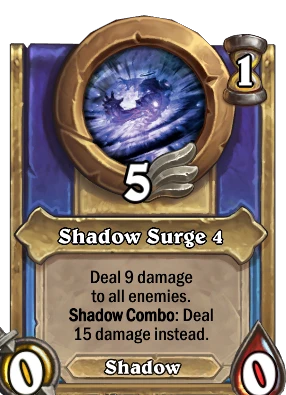
Continuing with Mi'da's spawns, they're nothing you haven't seen before: rather slow Fighters with lots of attack but a simple physical ability in Attack. Their most annoying aspect is the Shadow Damage +1, which can make some of Mi'da's abilities a bit more painful to deal with.
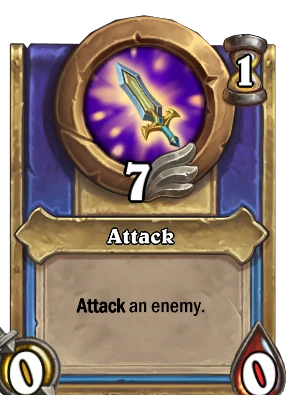
Void Shade's moveset.
The fight will start with two 20/60 Void Shades on the board, and each Reach through the Void cast will summon two other, but with 20/45 as statline.
Shard of Purification
Shard of Purification is extremely good in this fight, as it provides the healing that is necessary to take down Mi'da, Pure Void. Moreover, all the healing delivered to Mi'da by this unit will be doubled, meaning that healing Mi'da for 20 will result in 40 damage!
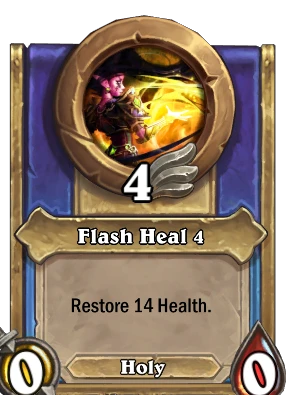

Shard of Purification's moveset, but there's a dangerous intruder.
Here's a quick breakdown on Shard's moveset:
- Blazing Song 4 - While you may not mind the damage side of this ability (both to clear Void Shades and for potential Fire synergies), it's factual that the most relevant part is the Heal power, which will power up Shard of Purification's other two abilities.
- You can also use it in combination with Chi-Ji for massive Inspiring Song 1/Firestorm 1 swings.
- Flash Heal 4 - If directed towards Mi'da, the main source of damage you'll use to complete the bounty.
- IMPORTANT: this is a Holy ability, so using this while trying to complete One With the Void will invalidate all your efforts.
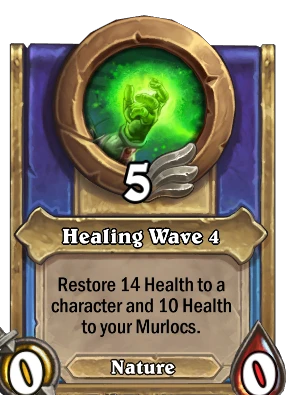
- Healing Wave 4 - Your main source of healing coming from the Shard.
Suggested Comps
Here are a few Mercenaries parties you can use to complete the "One With the Void" task. You'll be able to choose between many comps, suggested by different content creators, as well as mentions of budget alternatives for our readers that don't have many Legendary Mercs in their collection.
Out of Cards Recommendation - Nature Comp
There's no need to make things more difficult or convoluted than they actually need to be: just play the "Nature bros" comp and demolish Mi'da with Malfurion Stormrage's [Hearthstone Card (Liferoot staff 4) Not Found].
Unfortunately, we were not able to record a video this time because of a certain bug that prevented our Avalon to have access to the Mi'da Bounty, but it's not the end of the world, as ZombiesGoNomNom completed One With the Void with pretty much what we had in mind.
Here are a few tips for those unfamiliar with this strategy.
- Keep spamming Nature abilities with Malfurion Stormrage on board.
- Malfurion's [Hearthstone Card (Liferoot staff 4) Not Found] will rapidly chip away Mi'da's Health total.
- Cookie, the Cook, Lady Anacondra and Yu'lon aren't by any means core to this strategy, but they have a lot of Nature abilities, so they can replace Guff Runetotem or Bru'kan in case either of them gets knocked out without compromising your strategy's consistency.
Old Guardian's Cariel OTK Comp
Old Guardian came up with a rather interesting OTK strategy revolving around Cariel Roame and Crusader's Blow 1. If you combine this ability with Cariel's equipment [Hearthstone Card (Hammer of dawn 4) Not Found] and a bunch of token on your board, you'll be able to basically one-shot Mi'da on turn 1. How so? here's the video and a little explanation.
- The combo consists in Cariel Roame using Crusader's Blow 1 and killing a Void Shade. Blow's Deathblow (no pun intended) will restore a bunch of Health to itself.
- However, [Hearthstone Card (Hammer of Dawn 4) Not Found] will extend Crusader's Blow 1's secondary effect to every friendly unit.
- This specific interaction, combined with Mercenaries like Balinda Stonehearth that can spawn additional bodies when played, allows for potential OTKs as soon as turn 1.
- Mi'da starts with 350 Health and [Hearthstone Card (Crusader's blow 5) Not Found] restores 60 Health, so in this case you'd need 6 units on board for a turn 1 OTK.
- The final fight comp is the one you see above: Cariel Roame-Balinda Stonehearth-Murky.
- You can pick the other three Mercs based on what you prefer for a normal climb.
- You may pick the Fire comp with Ragnaros and Baron Geddon since Balinda is already part of the team, but there's no wrong choice!
Other Resources
Our clever community members set up a forum thread to share your Mercenaries progression journey, and we have added an #mercenaries channel on our Discord server if you want to talk with others in real-time. If you need an assist, you can also respond to this guide and we'll do our best to help you out; the comments are also a great way to share your own comps that you've used to complete the task above.
Good luck taking on any of these Bounties for those sweet sweet coins or just for the sake of satisfying completion!
About_Author
Spice Lord and self-proclaimed Meme Master.
- You can follow me on Twitter - I am always active and you can tag me to highlight your (or someone else's) 12 wins Duels run or really anything Hearthstone-related!
- Hearthstone Battletag: beppe946#2807 (EU)
More_Hearthstone_Guides
Latest_Hearthstone_Guides

Best Warlock Standard Decks - Violet Hold Meta Guide
UPD Jul 30, 2026
Best Shaman Standard Decks - Violet Hold Meta Guide
UPD Jul 30, 2026
Best Priest Standard Decks - Violet Hold Meta Guide
UPD Jul 30, 2026
// join_the_conversation
Sign in to share your thoughts, vote on comments, and connect with the community.
Comments
-
-
The same thing happened to me, and that's exactly why I could not record a clip for this task.
Long story short, what you need to do is going to Onynia's Lair (Normal mode) and complete the bounty before the one you cannot access.
Example: you cannot access Mi'da - complete Undead Onyxia in Normal
Example: you cannot access Mi'da, Undead Onyxia and Onyxia (my case) - complete SI:7 Smuggler, Onyxia and then Undead Onyxia.
Anyways, the bug should be fixed now.
-
I used Old Guardian's (amazing resource for beating these events btw; check him on youtube if you haven't) Cariel OTK and it was super easy. Just last blow with Crusader's blow/Hammer of dawn when you have some summoned minions out (Kazakus golems, murky murlocs, etc) out and the healing (and thus damage to Mi'da) will stack on all of them. BOOM!

Leave a Comment